Welcome to another cooking class recipe! My friend Cassia is the person responsible for this awesomeness. It’s a very simple recipe that just involves whizzing a couple ingredients in a food processor and slathering it over a chicken before roasting it for 35 minutes. Easy, delicious–you can’t go wrong. Unless you hate olives. Then, beware!
After testing this recipe the weekend before our cooking class, we decided that the tapenade was so delicious that we would double it for the class, serving a bowl of it alongside the chicken for olive-lovers. Hence, this recipe has enough tapenade for you to put every olive craving to rest for at least 12 hours guaranteed. Maybe 24 hours if you want to stretch it–but that’s the absolute limit, since exactly 24 hours from now I’ll be sharing yet another olive-alicious recipe. That uses another tapenade.
Why so many olives these days? Well, the answer is quite simple: to counteract the onslaught of cookies that has been turning this blog into a place of great danger recently. So let loose your olive war-cry and let’s begin:
Ingredients
(Serves 5)
1 whole chicken (3-4 lbs), giblets removed
2-3 TBS olive oil
1 cup pitted kalamata olives
1 cup pitted green olives
1 cup pitted oil-cured olives
2 TBS dry parsley
2 TBS capers
2 TBS fresh thyme leaves
4 tsp anchovy paste
3 sprigs fresh thyme
Salt
Pepper
Let’s start at the beginning (a veeery good plaaaace to staaaaart): preheat the oven to 400 degrees.
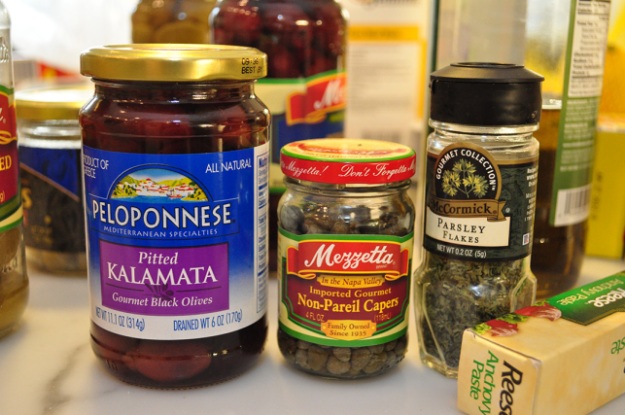
Grab the ingredients for the tapenade:
Don’t fear the anchovy paste. It’s quite benevolent, even if it does look like . . . never mind.
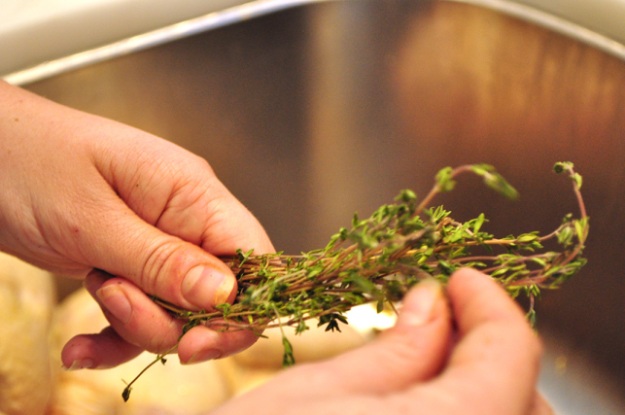
Rip the leaves off a couple sprigs of thyme to get the 2 TBS of thyme leaves:
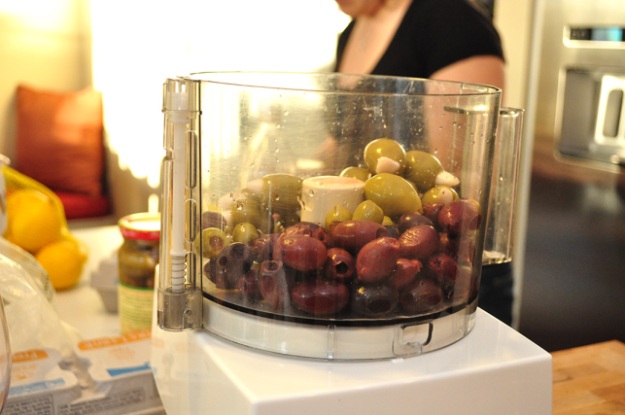
Put the olives, capers, parsley, anchovy paste, and 2 TBS thyme leaves in a food processor . . .
. . . and mince it finely.
Do you see now why I thought it looked like . . . and why I said to the ladies in the class . . . never mind.
I’m a big fan of not making the same mistake twice.
If the paste seems dry, add in a little olive oil.
FYI, you can do the work with a knife and a cutting board, but it takes a while (and since I don’t own a food processor, I may find myself in that position again).
Reserve about half of the tapenade–you’ll serve this on the table for those who want extra olive goodness piled high.
I seriously just snacked on this stuff–it’s so good. You could easily serve this to me with crackers and I’d be one happy lady. Take note, those who desire my happiness.
Now it’s time to grab your piece of meat.
Pick a chicken, any chicken.
Rinse it, then pat it nice and dry; place it on a cutting board. Try not to call it ‘Gladys.’
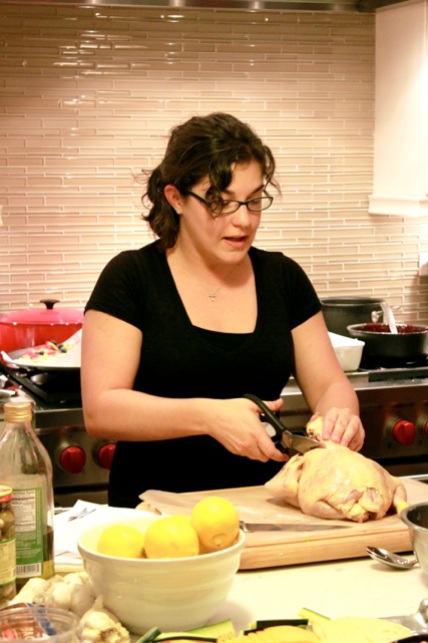
Butterfly it like Cassia is doing in this picture above: cut out the backbone and break the breastbone. For more specific instructions on how to butterfly, read here.
Dry the chicken again with more paper towels—this will help the skin get crispier.
Place the butterflied chicken skin-side up on a baking sheet lined with parchment paper.
Since we’re about to stuff that tapenade under the skin, at this point it’s helpful to snip the membrane in between the chicken breasts that holds the skin down. That’s what I’m doing here during the cooking class:
(Thanks for the picture, Carrie!)
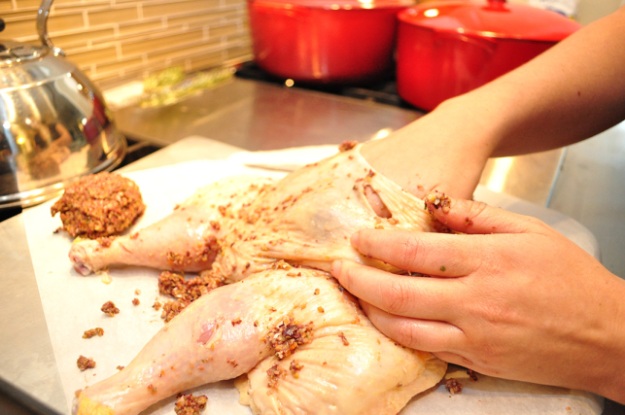
Using your hands, rub the olive tapenade under the skin of the chicken, and all over the surface of the skin as well. We want tapenade everywhere. Gladys wants tapenade everywhere, too.
Get it all up in the crizza, so to speak.
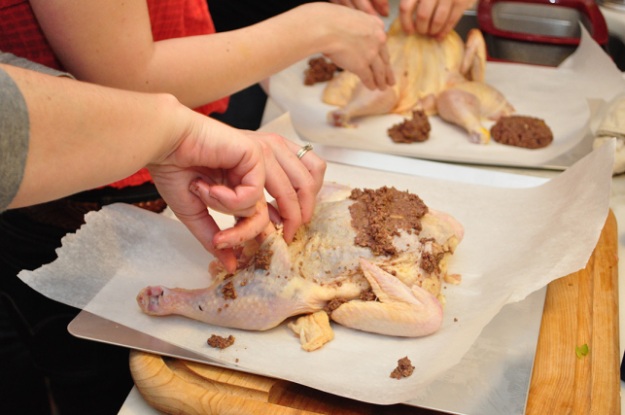
It helps to loosen the skin first, and then stuff it.
Don’t forget about the thighs and legs! They need some tapenade love too.
Here are some brave ladies getting down and dirty with the chickens during the cooking class.
Place the whole thyme sprigs underneath the chicken.
Final step before roasting: rub olive oil over the skin, and season the chicken generously with salt and pepper.
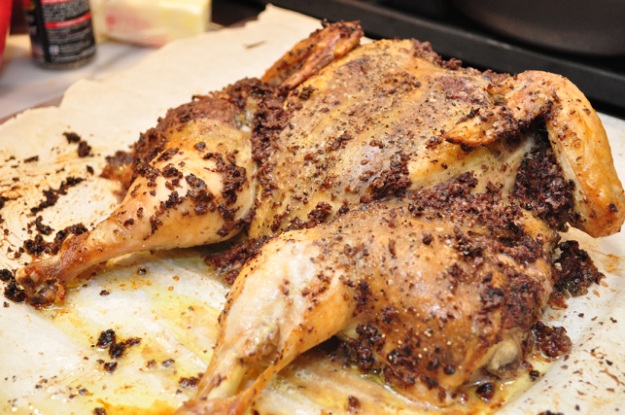
Roast the chicken in the oven for 35-45 minutes, until the skin is nice and browned and the juices of the chicken run clear when cut, or until the thickest part of the breasts reaches about 160 F.
Test the temperature at 35 minutes, because you really want a moist just-barely-done chicken, not an overcooked piece of leather. Trust your aunty Jenna! Overdone chicken ain’t where it’s at.
This chicken is where it’s at.
Let the chicken rest for 10 minutes, then carve and serve it with extra reserved tapenade.
The picture below is actually the Weeknight Chicken with lemon, garlic, etc., but I’m sticking it in to say that we served this chicken with the brussel sprouts and polenta as well. A perfect combination!
Make it on a weekend–or a weeknight! It’s simple enough to toss together after work, but fancy enough to make you feel like you’ve brought fine dining into your own home.
Click here for printer-friendly version: Roasted Chicken with Olive Tapenade

