Category Archives: Art, Crafts, & Games

Scrapbooking season is upon us

It’s that time of year when it’s no longer just cool or chilly outside, but plain old friggin’ cold. I love the continuous desire to drink hot cups of delicious concoctions (cider, coffee, hot chocolate, hot toddies) . . . but there’s also a component of letdown: it’s now officially too cold to take walks along the lakeshore–the wind gives me an earache and my nose starts to detach itself from my face. It’s dark by the time I get home from work. I have no idea what to wear since I have temporarily forgotten how to layer my clothing.

Sometimes you need a little positive thinking to get through these dark evenings: this is why I like to scrapbook as the fall turns into winter. In fact, isn’t today the first official day of winter? Or something?

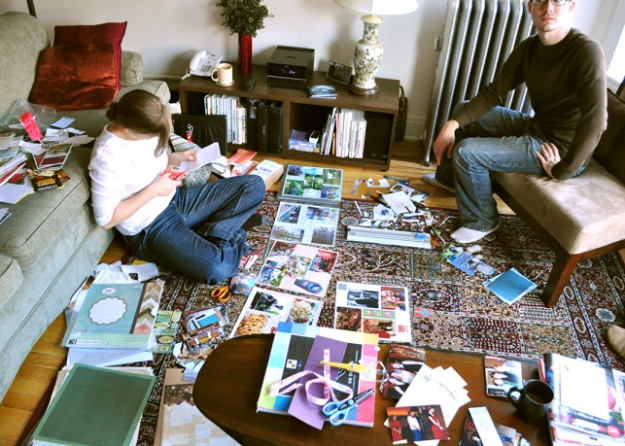
Please note the bewildered expression on my husband’s face: What has happened to our living room??? Should I make a run for it?

In this digital age, a lot of people use the internet to post their pictures. I have joined the ranks—I love posting pictures on my blog and on facebook. I love being able to look at other peoples’ pictures and follow things like the growth of their children from a State or sometimes a continent away with a simple click of the mouse. However, I also find incredible pleasure in having a book that I can pull off the shelf to look at many of these same pictures. I love making it, and I love having it available for the family to flip through when they’re visiting. Plus, it’s fun to look at the photo albums on a couch piled high with family members—you just don’t get that same cozy feeling from a computer screen.

Once a year, when September rolls around, I look through my gazillion pictures from the previous 12 months and pick which ones I want to print. This year, I uploaded my selections to walmart.com, and about a week later they were delivered to my door.

Then about a month went by. Don’t ask me what happened during that month, because all of a sudden October seems like a big blank.

I know I scrapbooked twice in November, and then got hit by the Thanksgiving truck and haven’t yet recovered. I still have a lot of scrapbooking ground to cover, but that will give me something to do in January and February to avoid the post-holiday blues.

Some scrapbookers like to buy stickers, fun backgrounds, ribbons, stamps, and the like. I applaud these people—they create beautiful scrapbooks! But it can cost a lot of money when you add it all up—a couple bucks for each sheet of stickers, a couple more bucks for some pretty background paper, etc. My solution is simple: I like to use all the paraphenalia I’ve saved through the year such as menus, fortunes from cookies, programs, tickets, brochures, thank you notes, invitations and the like, to decorate my pages. It’s cheaper, it gives you a place to store that wedding invitation you just can’t bear to throw away, and ultimately it creates a very meaningful album.

On this page I used a cut-up Christmas card with little squares representing the 12 days of Christmas.

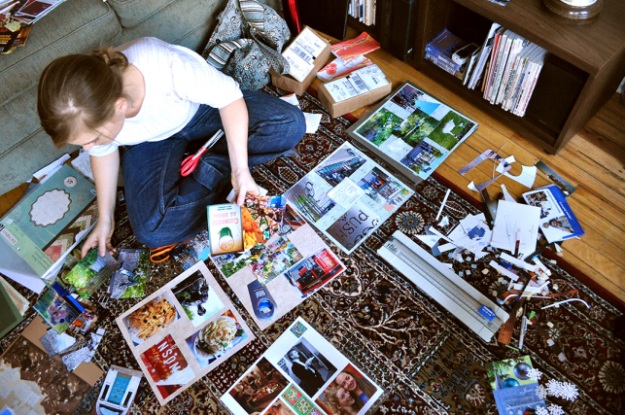
Once the prints arrive, I bring out all the above-mentioned paraphernalia and begin the master sorting: it’s time to put everything (pictures and paraphenalia) in chronological order. I like to do a pile for each month. This is a big task—but a fun one! I forcibly involved my husband because he’s the only one who can remember when the heck things happened.

Once everything is chronologically organized into neat piles, I get my tools:

  1. 12×12’’ Memory book pages
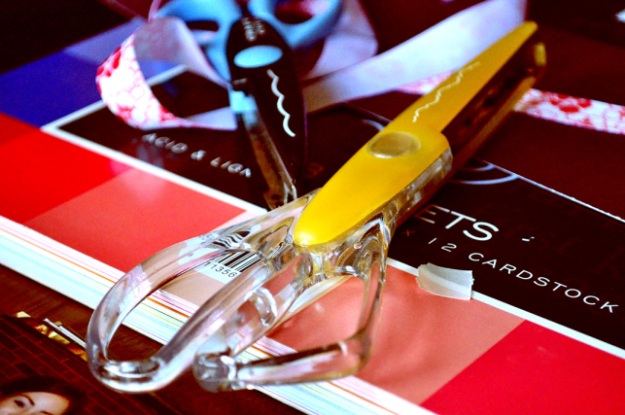
  2. Scissors
  3. Paper cutter (after years of pasting in crooked pictures that I had hand-cut, it was time)

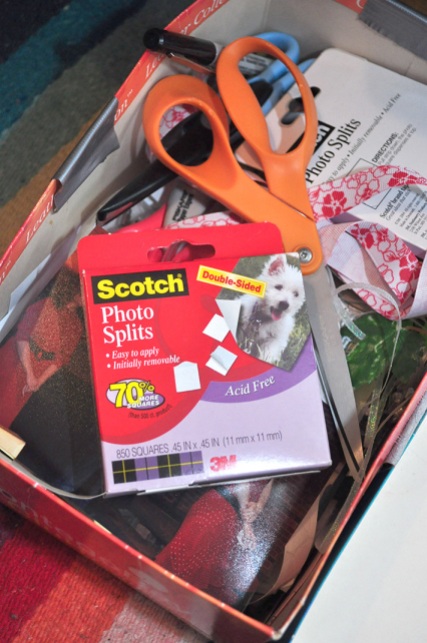
4. Two-sided stickers such as these:

5. Colored construction paper and a sharpie marker for writing explanations/captions

Now it’s time for the creative part—assembling the pictures and stuff into pages! I love adding funny explanations, cutting pictures up to fit a sequence in together, color-coordinating everything, and even adding a Santa Hat to a hideous picture of Erica:

In case Erica isn’t pleased with this image of her, here is a link to a series of pictures more reflective of her beauty.

I recommend using a space that you don’t have to pick up at the end of the evening. It can take a while to put everything away while conserving the chronology, and for me, taking everything back out can seem so unappealing that I will procrastinate. So set yourself up—if possible—in a space that you can take over for a week or two, or however long it takes you. It saves a lot of time!

And that’s why my project is still dragging on. Because the two times I scrapbooked in November, I picked up after myself. Bad Jenna! I should know myself well enough by now to say that starting is always the hardest. Unless I’ve already started, in which case stopping is the hardest.

I also conned my friend Carrie into working on her scrapbook, which chronicles her trip to Ireland with her husband over the summer. Nothing like having a friend over to get your butt in gear.

As winter is upon us, this activity helps me look back thoughtfully on the previous year: what I’ve done, the friends I’ve spent time with, and all the fun things that I would have forgotten had they not been recorded. For me, it’s a time of thankfulness to God for all the blessings of the year, and a time to reflect on what’s truly important: loving and being with people!

Carrie, when can you come over to get my butt in gear again?
Mosaic trivet tutorial

Early in the summer, my friend Beth kindly invited me to her home to make mosaics. She’s been doing it for about a year, and I concur with her assessment: it’s therapeutic! We spent about two and a half hours listening to music, drinking coffee, talking, snacking on grapes, and working on some fun projects. Beth and her husband David were our Bible study leaders last year, and are again this fall. They’re just great.

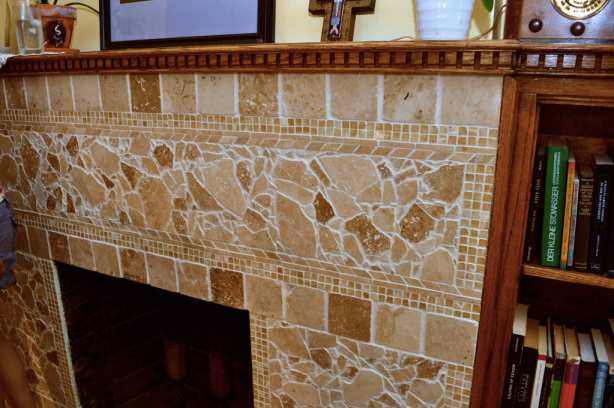
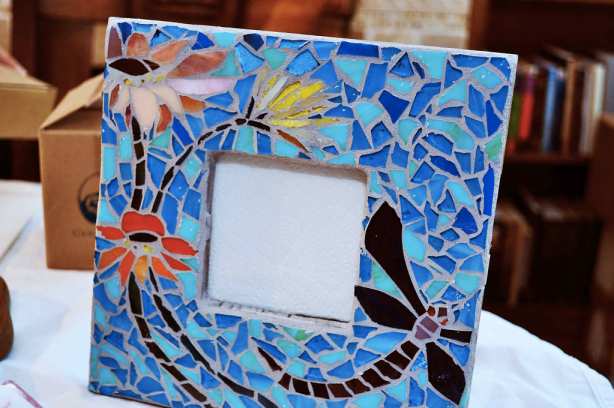
She has done beautiful, beautiful things with mosaics: it’s truly an art. She’s also very generous, and had given away almost all of her projects, so I only had a chance to photograph two of her pieces. First, the mosaic she herself did on their fireplace:

And second, this dragonfly/flower motif on a picture frame:

Isn’t it beautiful?? I would hang that in my house any old day. Heck, I would hang a dozen of them.
I am in no way a mosaics expert, but I thought I’d toss together a mini tutorial illustrating what we did, and what you need to start a project like this. I have to say–it’s a fairly cheap hobby. Once you buy a couple tools, the materials for making mosaics (mainly colored glass tiles and mortar) are very cheap and last for many, many projects.

A word of warning–there is a risk of getting cut, so be careful! I didn’t get cut, but I did develop a nasty blister from wielding the wheeled nippers. The handles are very grippy, and they gripped my skin right off. I considered including a photograph of the blister, and then I thought that might scare away the young’uns.

So let’s dive in!

Ingredients (what you need)

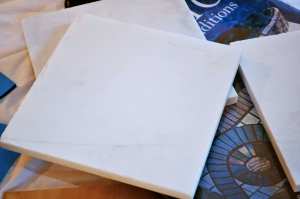
1. Sub strate, i.e. something to construct the mosaic on. It’s your “base” if you will. This can be a wooden picture frame, a marble tile (to make a coaster or trivet), a piece of wood–anything solid enough to stick little pieces of glass all over it. For this project, I used a 6×6 polished marble tile. Beth had a pack of 4 handy that only cost $5.50. Make sure you put the mosaic on the “rough” side, with the polished side down. No sense covering up the nice smooth part.

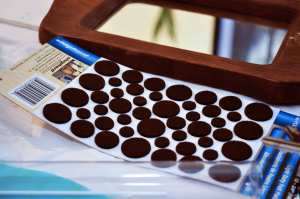
If you’re doing a trivet or coaster, you might want to also purchase some felt pieces to put on the bottom corners so you don’t scratch your furniture:

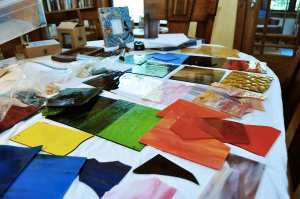
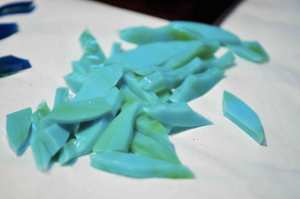
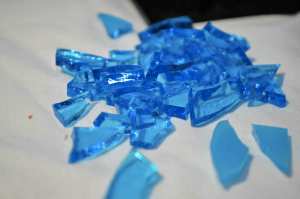
2. Glass tiles for the mosaic pieces. These range in cost from $2-$6. There are so many beautiful colors and kinds–opaque streaked glass (hand mixed), transparent, textured, etc.

3. Premixed thinset mortar. A 16 oz can cost Beth $8. You can mix it yourself, but this was so convenient.

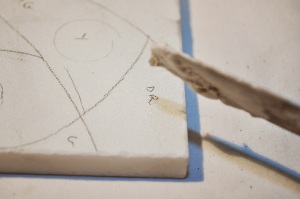
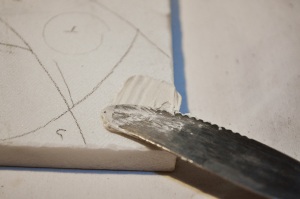
4. A nail file for spreading the mortar and for chipping out excess mortar at the very end.

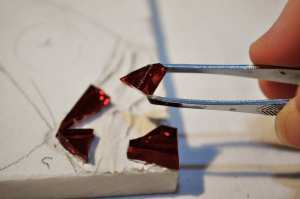
5. Tweezers (optional) for handling bits of glass that aren’t cooperating with your big meaty fingers. I used them a couple times, but for the most part I find fingers are best.

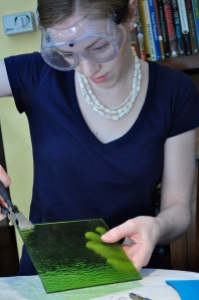
6. Protective goggles to wear while you cut the glass. This is important–tiny, tiny shards fly everywhere! Make sure to  wear shoes during the project and vacuum the area thoroughly at the end. And mop too if you can.

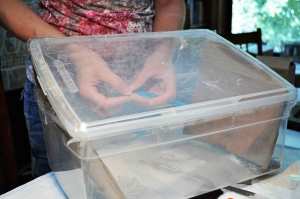
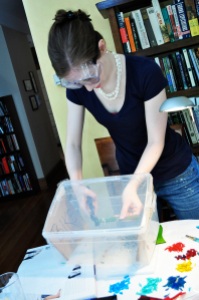
7. A plastic box for cutting the glass in. This prevents little bits of glass from flying everywhere when you cut, and provides extra protection for your face. You can make this out of any old plastic box you have lying around, as long as it’s big enough. See how Beth puts her hands and the glass inside the box as she snaps off pieces?

Besides being safer, it also makes you feel like you’re on some kind of a super cool hazmat team. Dealing with dangerous biological agents. You have 48 hours to save the world: Go!

8. A scorer, to score the glass. Simply press down firmly, and with a steady hand, drag the scorer down the line you want to cut. You can draw the line you want to score onto the glass with a highlighter in advance, and the marker will wipe right off when you’re done. Or you can be wild like me and do it free-handed:

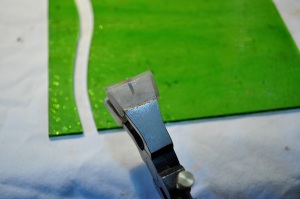
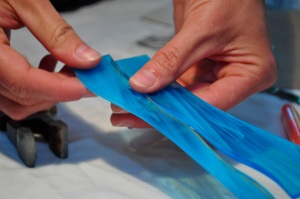
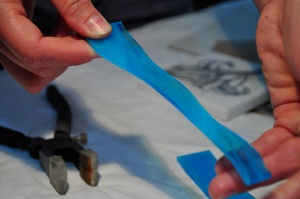
9. A breaker, to break off the piece you have scored.

You line up the center mark of the breaker with the cut in the glass, and press firmly. Ta daa! It made me feel like a real professional

You can see the line on the tool (in the center) that you need to line up with the scored line on the glass. Line it up on the edge of the glass, and press firmly. It will snap right off. Magic!

Let’s watch Beth use it as well:

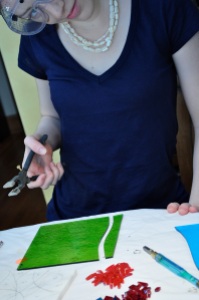
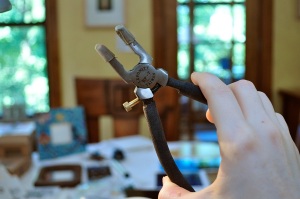
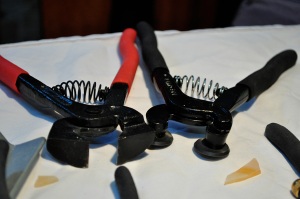
10. A wheeled nipper. This is the most expensive piece at around $32. Beth recommends the Leponnitt brand, and the wheeled nipper as opposed to the regular nipper. In this picture, the wheeled nipper is on the right:

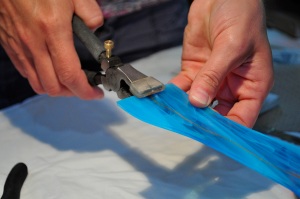
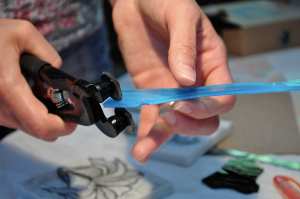
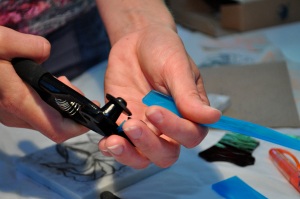
The tiny wheels are like tiny pizza cutter knife thingies. When they start getting dull, you can rotate them and use a fresh edge. You will use this tool to cut off tiny pieces of glass from the tiles. You can see below how Beth puts the glass between the wheels of the nipper and simply presses down firmly.

11. A pencil and/or marker to draw the design on your sub strate.

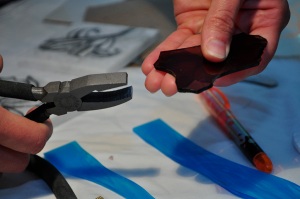
12. A chipper to take off the dangerous pointy edges. This cost Beth $8.

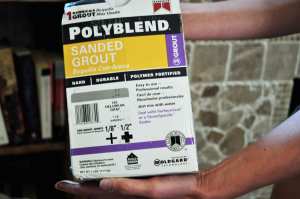
13. Sanded grout. Grouting your project is the final step in the process. You mix it with water and . . . well, you will soon see. You should probably wait 24 hours for the mortar to completely dry before grouting, so Beth sent me home with some grout in a can. Apparently this Darth Vader mask protects her from inhaling the grout.

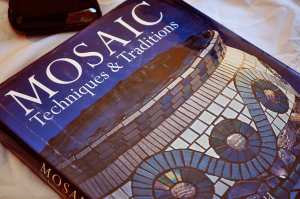
14. Optional: mosaics book for inspiration.

And the fun begins

Here are pictures from our project.

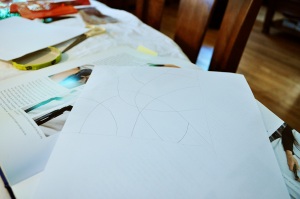
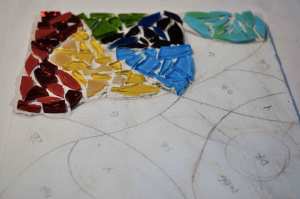
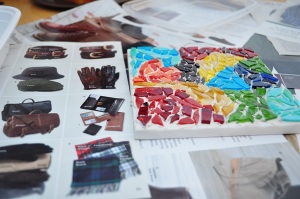
First, I decided on my design: as my first endeavor, I was going to keep it very simple and decided to do an abstract kaleidoscope of colors. I first drew the design on a sheet of paper.

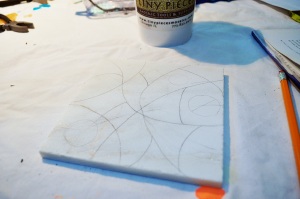
Then I drew it again onto my tile with a pencil, and (after taking the picture below) wrote in what colors I thought I might like in each section.

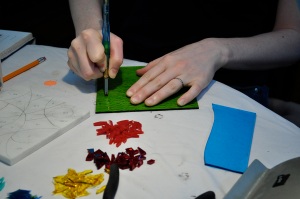
Then I had to break a ton of glass. With protective gear.

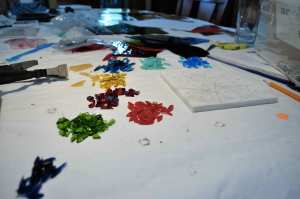
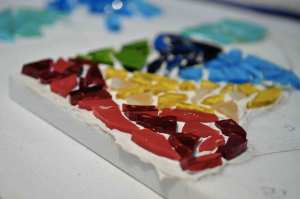
After breaking it, I assembled it into neat little piles. I love neat little piles!!

Aren’t these colors just entrancing? I could stare and stare at them.

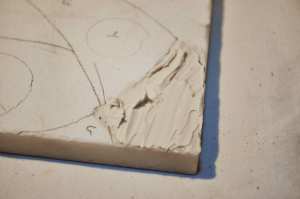
Now it’s time to spread some mortar on the tile:

You can use a knife or a nail file. I ended up using the nail file a lot more–it helped me be more precise.

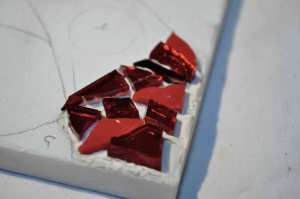
Now it’s time to start sticking on the glass. No need to hurry–you have plenty of time before it dries. I even pulled up an entire section I didn’t like and re-stuck it on afterwards with a little more mortar. No biggie.

You want to leave about 1/8 inch around the sides for the grouting at the end. Try to leave equal spacing between your pieces. You don’t want clumps and then wide spaces: go Even Steven. Even Steven is his name.

Beth recommended combining opaque and transparent tiling for each color segment. She was so right–it added a lot more visual interest than if I had just used the same tile in one section. See how some of the yellow pieces are clear, and some opaque? Yeah.

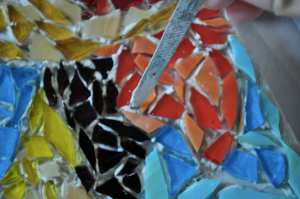
Then it was time to remove the excess mortar from in between the pieces, so the grout will have room to take hold. I picked away at it for a few minutes using the trusty old nail file:

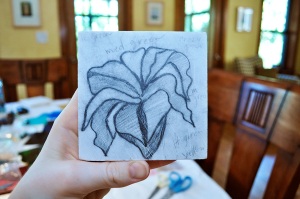
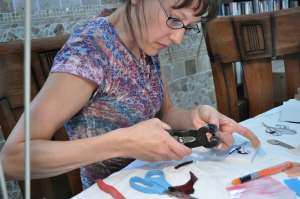
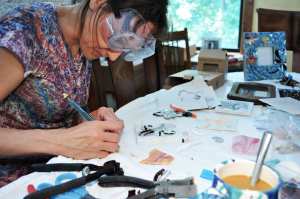
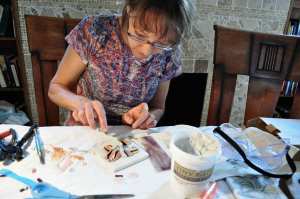
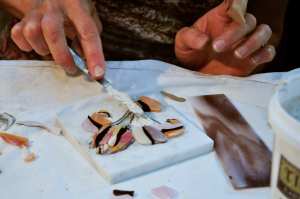
Here are some shots of Beth working on her project–a tile with a lovely flower on it. She did a sketch on the tile first, and is cutting the exact pieces she wants. It’s much more detailed work than my haphazard kaleidoscope.

Here she is using the wheeled nippers …

Now this is where I get real with you guys. After making this mosaic and taking home my grout, it took me 3 months to get around to grouting it. This just goes to show that I need to learn my own lessons about doing what I want and not procrastinating . . . but you already read all about that on Monday, so I’ll give you a rest from the moralizing.

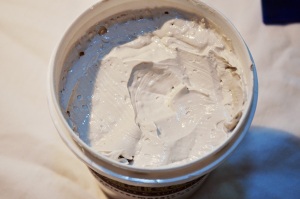
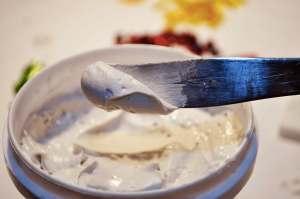
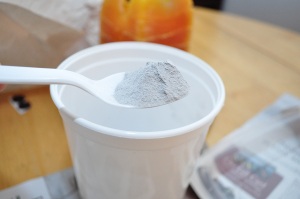
When you’re ready to grout your project, mix the dry powdery stuff with some water until it’s the texture/thickness of hummus.

I used a take-out container that I could guiltlessly throw away when I was done. You should protect your mouth and nose during this process so that you don’t inhale clouds of grouting dust. I chose to simply hold my breath the entire time. True story. I’ll advise you of any ill effects that I notice . . . but so far so good.

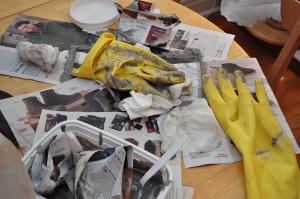
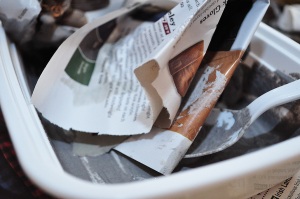
Lay down tons of newspaper or magazine pages to protect the surface you’re grouting on. We’re about to make a small mess.

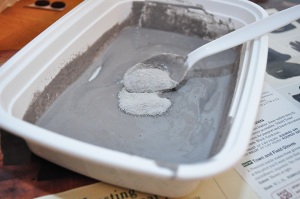
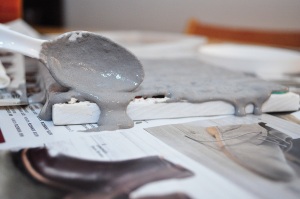
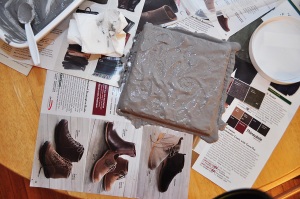
Once the grout was mixed, I poured and spread it over the trivet with a plastic spoon. I think my grout was a little too watery–so make yours thicker.

It worked out great. There it is, a big gray lump:

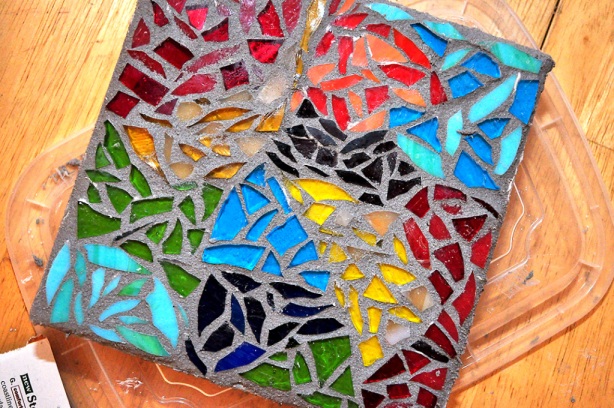
And that’s the tutorial! Finito! The end! Doesn’t it look awesome?

Just kidding.

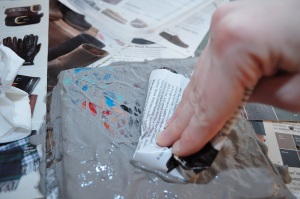
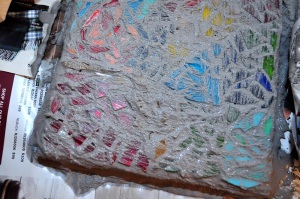
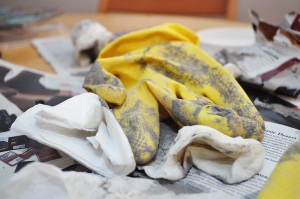
Next, I donned some yellow disposable gloves and went to town, pressing the grout into the cracks, smoothing it down, etc. I ran my finger along the sides of the trivet to ensure Even Steven was getting his dues. When it all looked evenly grouted, I obtained large quantities of damp paper towels or magazine pages and wiped the excess of the top.

Yes, I realize I’m not wearing gloves in that picture. Please pretend I am.

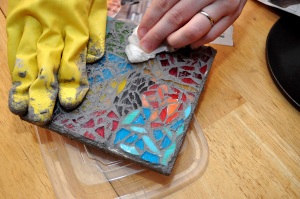
Then I wiped some more.

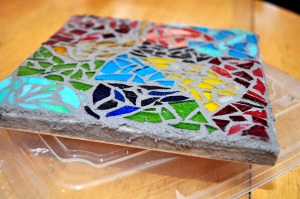
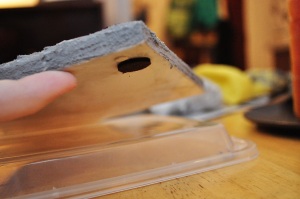
As you can see, by the end I was using the plastic cover of the take-out container to keep the mosaic up off the table. That’s where I left it to dry for the next 24 hours.

I also used this opportunity to put those little felt things on the bottom of the trivet.

Then I wadded up the whole messy pile of disgrace and threw it all away.

It looks like a disaster, but it took 20 seconds to clean up because I simply balled up all the magazine paper at the bottom and took 2 steps to my left, where our handy-dandy trash can was waiting and ready.

There were a few little smudges of grout on the glass pieces when I was done that dried overnight. I’m pleased to say they scraped off really easily (with my fingernail) the next day, no harm done.

 And that is all she wrote, folks. At least until tomorrow–then she wrote some more. Because she was a blogger, and she couldn’t leave well enough alone.