I absolutely love Thai food. Unfortunately, I haven’t had a lot of luck creating Thai dishes at home that have that restaurant quality to them. My Pad See Ew turned out quite decently, but my struggles with other dishes are not to be taken lightly–after at least a dozen attempts at red curry, for example, I’m still not satisfied enough to share my recipe. So I am very happy to say that, held by the hand of the ‘The Best International Recipe’ cookbook by America’s Test Kitchen, I have produced a restaurant quality Chili Beef dish in my own kitchen. And nothing could bring me more pleasure than to pass this recipe along so that you can, too! As with most stir fries, there’s a lot of chopping and mincing up front, because once the burner goes on the actual cook time is very short.
 My main modification to this recipe is doubling the sauce, but other than that it’s very close to the original. Let’s go!
Ingredients
For the sauce
4 TBS fish sauce
4 TBS rice vinegar
4 TBS water
2 TBS light brown sugar
2 TBS Thai chili-garlic sauce (Sriracha)
For the marinade
1 TBS fish sauce
1 tsp light brown sugar
3/4 tsp ground coriander
1/8 tsp white pepper
For the stir-fry
2 lbs blade or flank steak
5 cloves garlic, minced
3 TBS vegetable oil
3 Thai, serrano, or jalapeño peppers
4 large shallots
1/2 cup basil
1/2 cup cilantro
1 lime
1/3 cup roasted unsalted peanuts
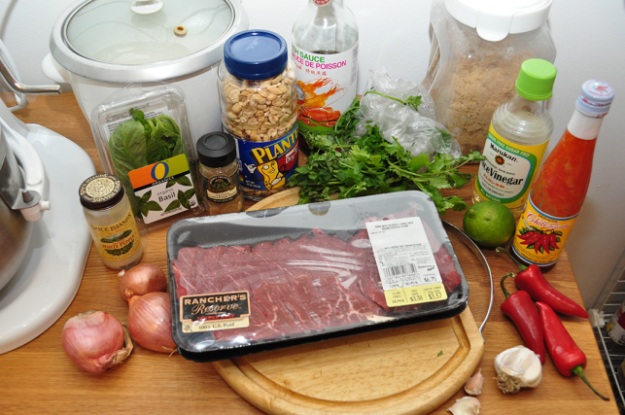
Here are all the ingredients. A possibly daunting amount–but please don’t be deterred. Forge ahead and realize your Thai dreams.
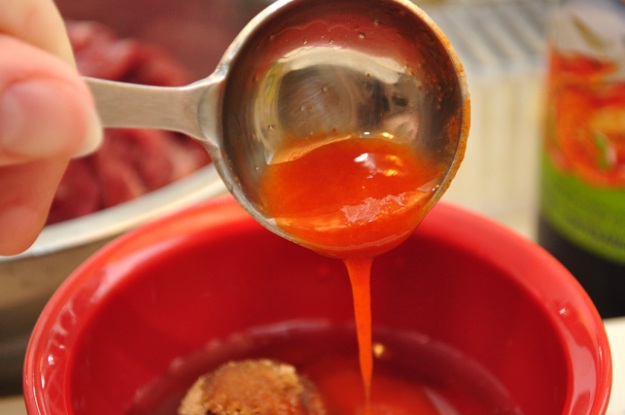
Mix all the ingredients for the sauce; set aside.
It looks quite humble, but this sauce will soon become my favorite part of the dish.
Also, it will allow you to make friends with this shady character:
The notorious fish sauce. Embrace it! I know I do. Just don’t tell me how it’s made, okay?
Slice the steak crosswise on the bias, and then cut into thin strips about ¼ inch thick. I bought pre-sliced beef because I’ve secretly wanted to for years–and it was on sale!
However, it wasn’t cut thinly enough, so I did a little extra slicing.
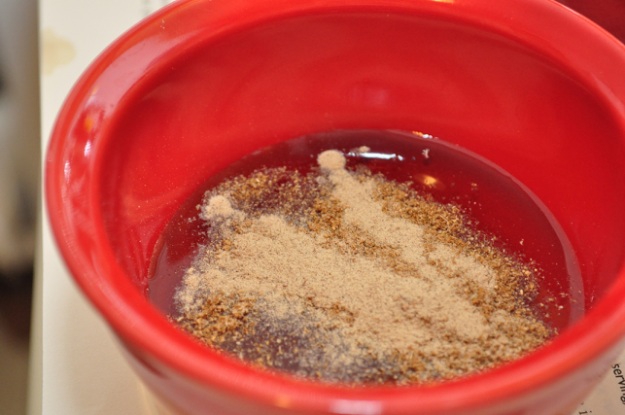
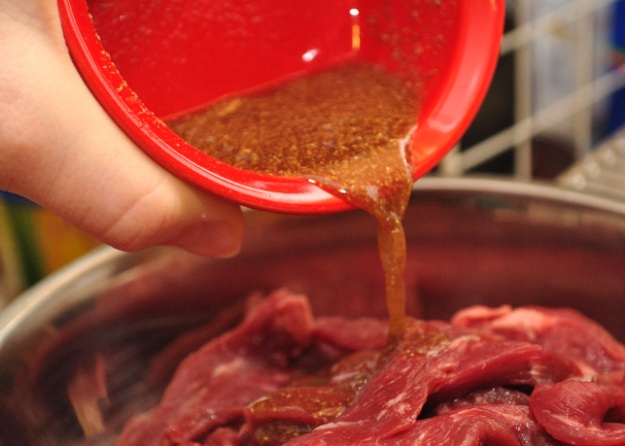
Mix the marinade ingredients together . . .
. . . and add it to the beef strips.
Let the meat marinate for at least 10 minutes (or up to an hour).
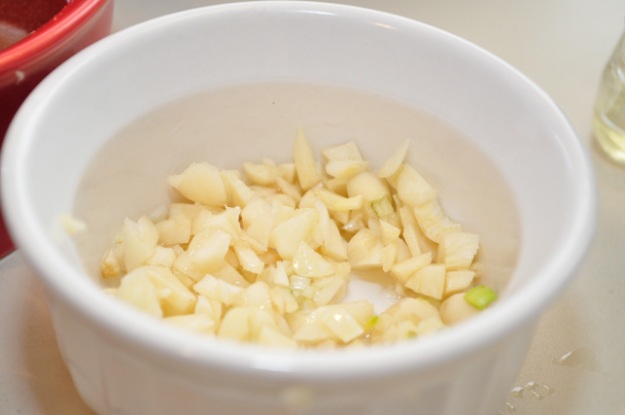
Now get your knife ready: it’s time to do all the chopping/mincing. Mince the garlic and mix it with 1 tsp of oil. Set it aside.
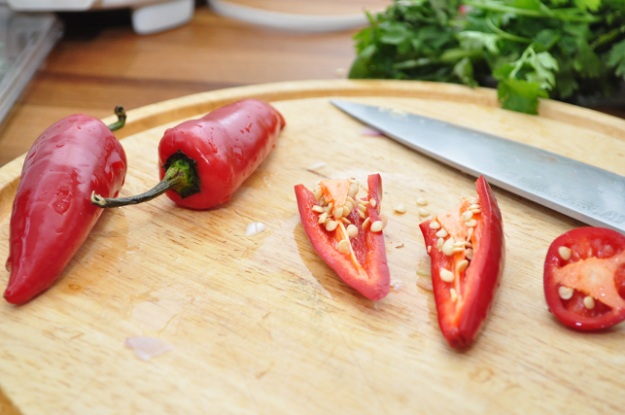
Halve the hot peppers . . .
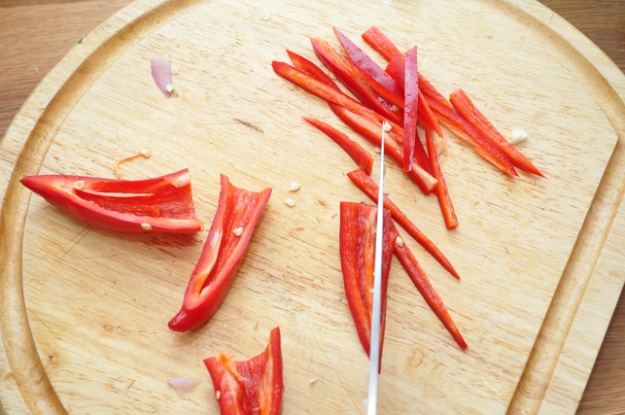
. . . and remove the seeds. I usually scrape them out with a sharp paring knife. Cut them into matchsticks.
If you’re thinking this dish is going to be deathly spicy, don’t worry–removing the seeds takes out most of the heat.
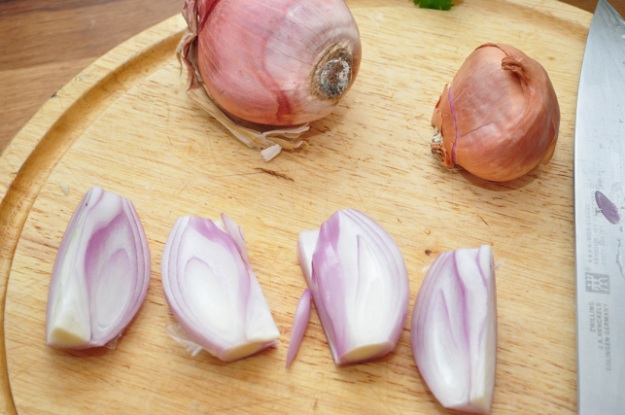
Quarter the shallots lengthwise . . .
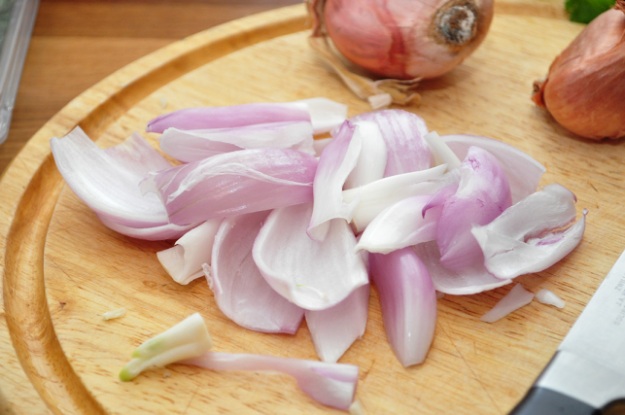
. . . and using your fingers, separate the layers.
Set the shallots and chilies aside together in a bowl.
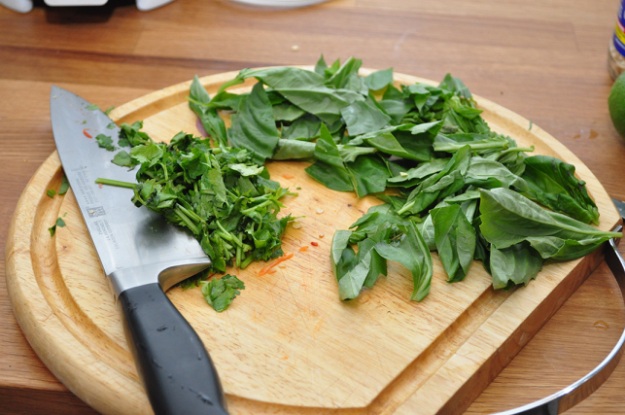
Roughly chop the cilantro (but leave the basil leaves whole unless they’re unusually large–which mine were).
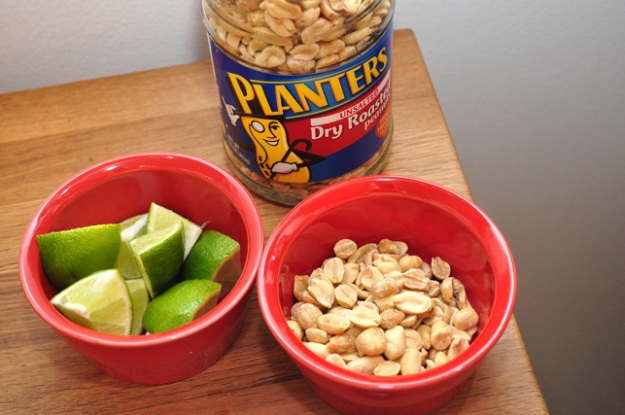
Cut the lime into wedges and lightly chop the peanuts–these garnishes are essential. I shouldn’t even be calling them garnishes. They’re not mere extras; they’re part of the family!
All our prep work is now done. You should have the following items right next to your skillet, ready to go:
Going clockwise from the top left: the beef. Vegetable or peanut oil. A clean bowl to put the cooked beef in. The garlic/oil mixture. The sauce. The chilies and shallots. Check!
A heads up: we’re going to cook the beef in 3 batches. It may sound very time-consuming, but cooking in small batches means the batches cook very very quickly (in literally two and a half minutes per round), plus the beef will get nice and browned instead of steaming and becoming floppy due to overcrowding in the pan.
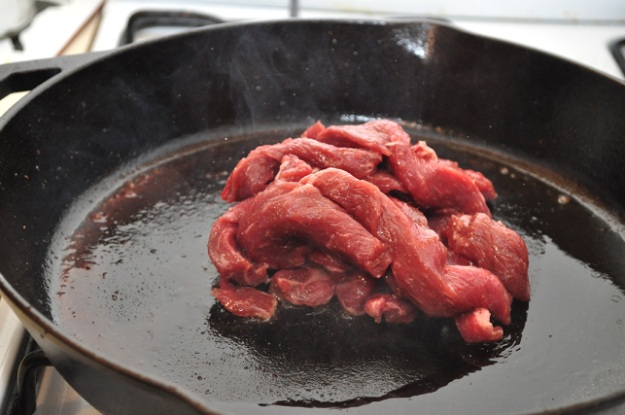
Alright! Things are about to get hot in here. Heat 2 tsp oil in a 12” cast iron skillet over high heat. When the oil starts shimmering, add 1/3 of the beef strips.
Immediately spread them out in the pan . . .
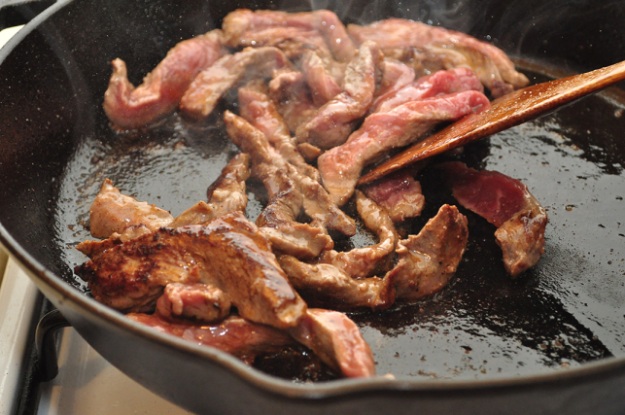
. . . and don’t touch them for 2 minutes. Seriously–get that spatula away! You’ll see they are cooking very quickly:
Don’t be tempted! Keep your mitts off that meat.
After the full 2 minutes are up, they should be very nicely seared on one side. Stir-fry for 30 seconds, moving them around the pan until they’re cooked through.
Remove the beef to a bowl:
Cook the remaining 2 batches of the beef in the same way.
Are you tempted to cook it all together to save time? Don’t. I’ve made that mistake and it takes the final dish down about 5 notches. Plus, it ends up taking about just as long as the batch method.
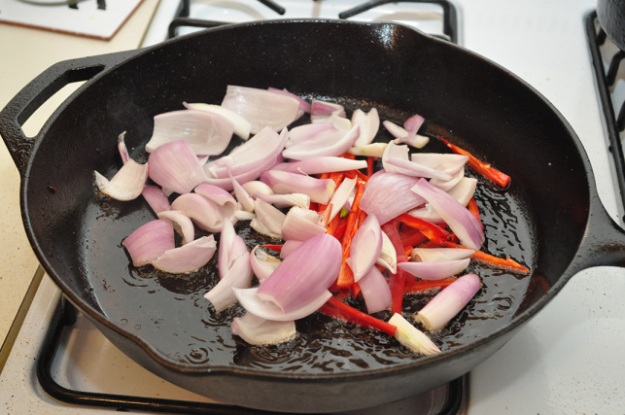
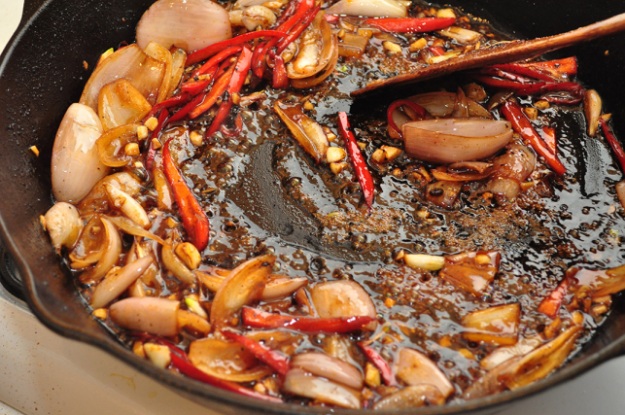
Once the meat is all done, add 2 tsp oil to the skillet. When it’s hot and shimmering, add the shallot and red chilies.
Cook for about 3 minutes, stirring frequently, until they’re getting soft and browned. Next up: clear a space in the middle of the skillet and add the garlic/oil mixture.
Press the garlic into the pan with a spatula for about 15 seconds . . .
. . . then mix it into the veggies.
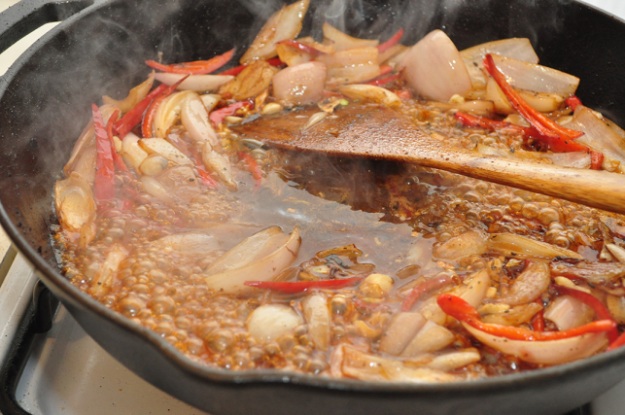
Add the sauce:
Increase the heat to high, and let it reduce and thicken for about 30 seconds, stirring.
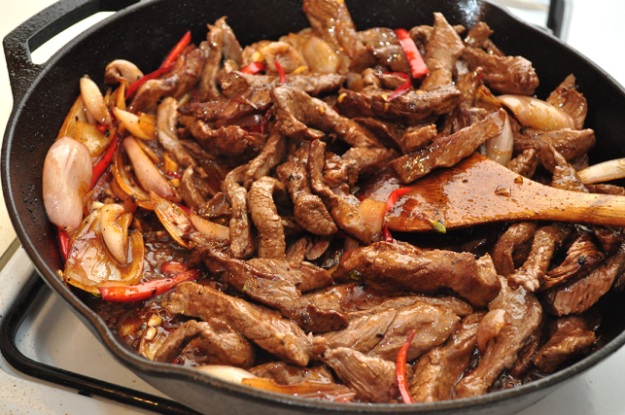
Dump in the beef with any accumulated juices, stirring well to get it coated in the sauce.
Stir in half the cilantro and basil and take the skillet off the heat.
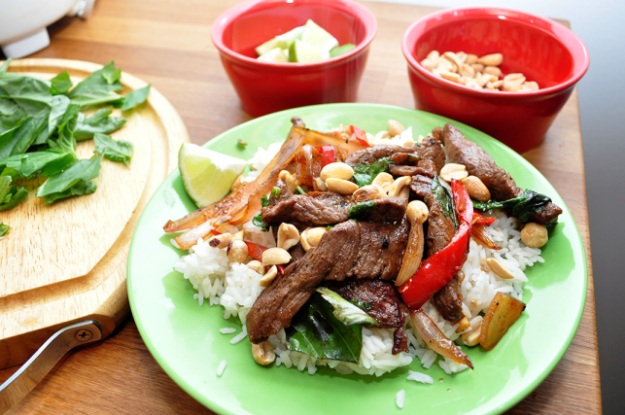
Ta-daa!
Gorgeous, ain’t it?
Serve over white rice and garnish with the remaining cilantro and basil, peanuts, and lime wedges.
Serve it on a plate . . .
. . . or in a bowl.
I tried it both ways and whaddya know–it tastes the same!
 Seared, flavorful meat . . . crunchy peanuts . . . bright lime juice . . . tender veggies . . .
Which reminds me: please don’t forget to squeeze on the lime. It really adds a lot.
 Make it, folks! If you love Thai food, jump in no holds barred.
Click here for printer-friendly version: Thai Chili Beef (Neua Pad Prik)
