Tag Archives: quick

White Bean Garlic Dip

I recently discovered a love for cannellini beans. They created an ‘aha!’ moment in my brain: you don’t necessarily need heavy whipping cream to make things creamy. “Thank you!!” cried my bottom. “Thank you,” cried my thighs. “Thank you!” cried my left ventricle. Seriously–puree some of these babies, and you could fool your own grandma with this creamy asparagus soup or this cilantro lime bean soup.

Anyway, when I saw this simple dip recipe that uses cannellini beans as its main ingredient, I grinned and put it on the menu. Me and those beans, we got an understandin,’ see. It’s a winner, and the fact that my old friend ‘garlic’ was also a main feature only strengthened my resolve to make it.

By the way, if you’re into the whole food blogging scene you should really take a few minutes to browse through Tracy’s blog, Sugarcrafter. She’s got great stuff on there, from this winning dip to Margarita Bars to Jambalaya to everything you could think of making with Nutella, her recent obsession.

Nutella . . . yes, it was also my obsession in Paris 7 years ago, and it led to some really, really embarassing pictures that I absolutely can’t share.

Okay, fine. I’ll share.

Phew–am I ever glad to be out of my late teens/early twenties! They taught me the meaning of ‘bacne,’ a horrible word which I shall never ever again repeat crossmyhearthopetodie, pokeyourmotherintheeye. I also realized in very recent years that plastering my hair against my head in a shrinkwrapped version of the bun was not an extremely attractive way to fix my hair. One day I’ll share a picture-based history of my hairdos and by the end you’ll be scratching your scalp and pulling our your eyebrows–it’s bad. And it will cause you physical and emotional pain to walk through it with me.

Alright, enough about my misspent hair-youth, and on to the main feature!

Ingredients

(Serves 4)

1 15 oz can cannellini beans, drained and rinsed
1/4 cups olive oil
1 TBS lemon juice
2 cloves garlic, minced
1/4 tsp salt
1/4 tsp fresh ground pepper
1 tsp crushed red pepper flakes

Drain and rinse the can of beans to get rid of that nasty thick viscous liquid . . .

Aah, much better. Though please ignore the dirty dishes in the background. I don’t know who they belong to . . . but they’re definitely not mine. Nope. I don’t recognize a single one of those perps.

Combine all the ingredients in a food processor. Those of you without a food processor (present company included) toss it all in a blender.

Yeah, I didn’t bother to mince the garlic. And I used 6 cloves instead of 2–you would do well to do the same. I regularly triple the garlic in recipes–it’s Who I Am.

Blend or process until combined.

I liked the fact that my blender left some chunks–I like a dip with texture.

Serve it with crostini (or any kind of tiny toast), pita chips, flatbread, crackers, or just scoop it out with your finger. I know I did.

This dip is seriously delicious. Garlicky, lemony, not too spicy but definitely with heaps of flavor. And did anyone see how easy that was to make? Tracy, you’re a genius.

I loved encountering random unprocessed beans, such as this little guy:

I should also point out that I had garlic breath all night long . . . and I woke up with more garlic breath. I breathed it all over my husband when I gave him a morning kiss, and then I recklessly breathed it all over the morning commuters on the El. So don’t make this for your own wedding or anything–unless you have a garlic-loving groom.

Have a great weekend everyone!

Click here for printer-friendly version: White Bean Garlic Dip

No-Bake Peanut Butter Cup Bars

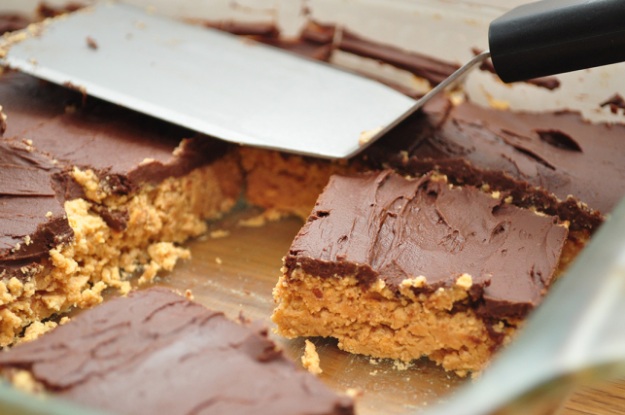
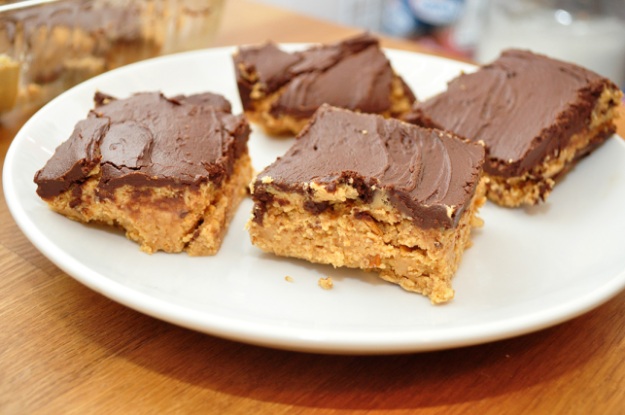
I’m not a big candy person, but when I came across this recipe, the urge  for a sweet treat hit me hard. Chocolate and peanut butter make a timeless combination, and this simple recipe (which doesn’t even require you to turn on the oven) has delicious results. The bars are wonderful straight from the freezer, where they will conveniently stay good for quite a long time, though I doubt that ‘quite a long time’ will describe the longevity of these little guys. Think Reese’s peanut butter cup, but larger. And . . . healthier? Who knows. Let’s at least pretend, eh?

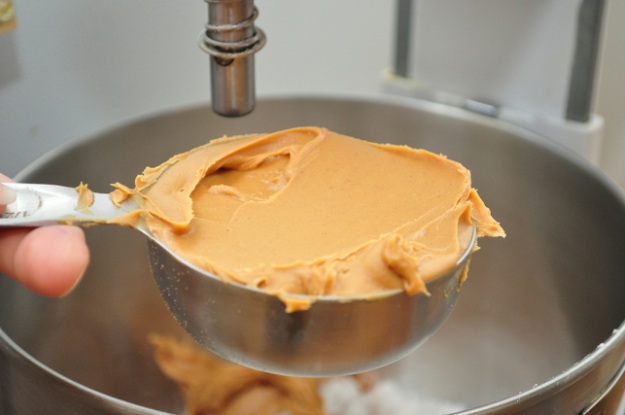
I think the hardest part of this recipe was simply measuring out the peanut butter (warning: a 16.3 oz container does not contain a full 2 cups). That stuff is sticky, man. But if that’s the summit of the challenge, you can see how easy these are going to be to make.

Ingredients

(Makes 20 small bars)

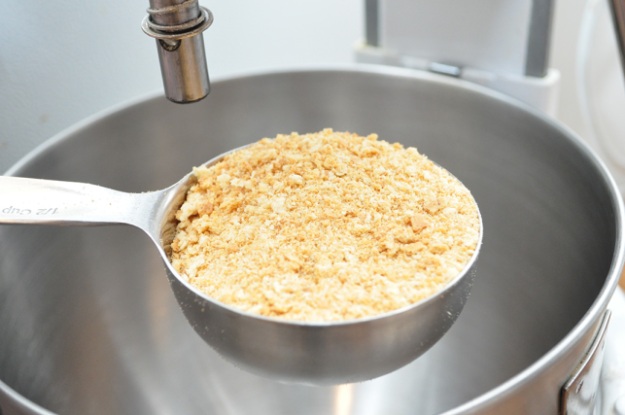
2 cups crushed graham cracker crumbs
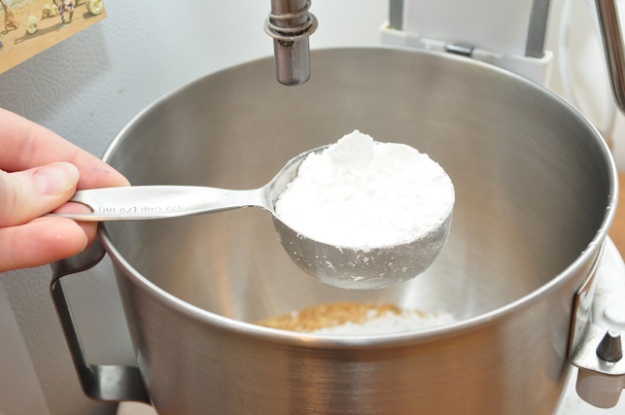
3 cups powdered sugar
2 cups creamy peanut butter
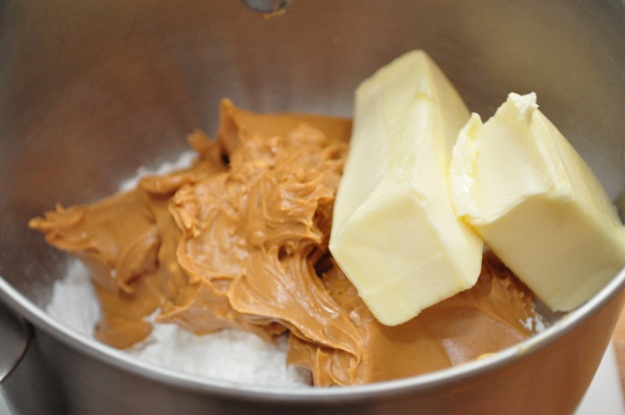
3/4 cup butter, softened
12 oz dark or semi-sweet chocolate chips
1/4 cup butter

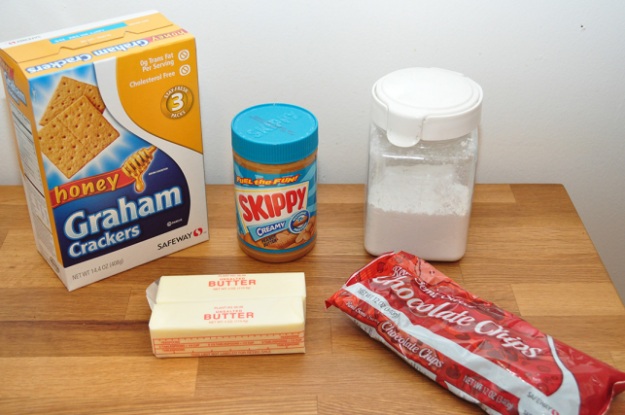
Here’s the assembly: looking totally doable.

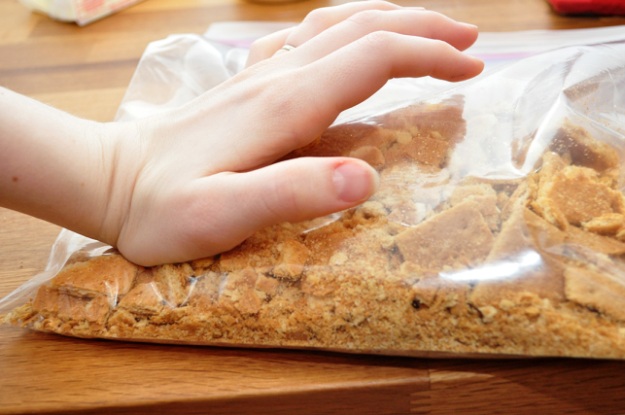
First, pulverize the graham crackers until you have 2 cups worth of very fine crumbs. I dumped the crackers into a Ziploc bag and went at them with the heel of my hand.

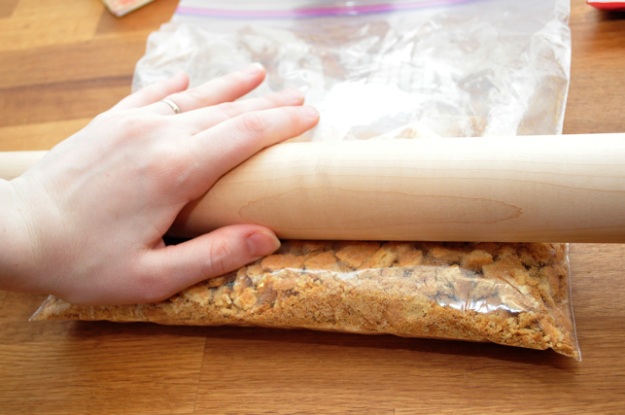
Very soon, I graduated my efforts to the rolling-pin level.

Much faster that way.

Grab a large mixing bowl and toss in the graham cracker crumbs . . .

. . . powdered sugar . . .

. . . peanut butter . . .

. . . and 3/4 cup of softened butter.

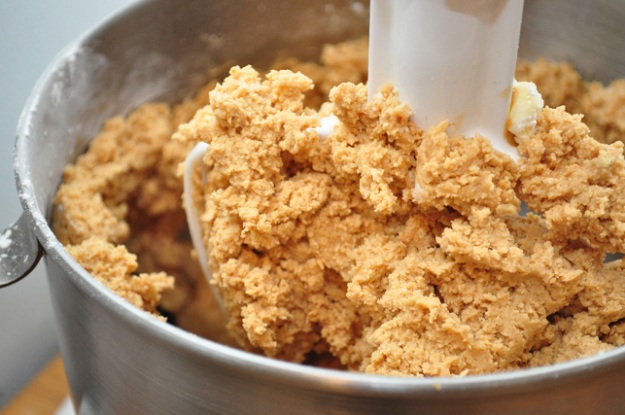
Mix it slowly, because when I tried to speed things up, poofs of powdered sugar exploded from the bowl.

There! The rest of the recipe is easy: just grab handfuls of that mixture as your mood leads and insert into mouth.

Enjoy!

Just kidding.

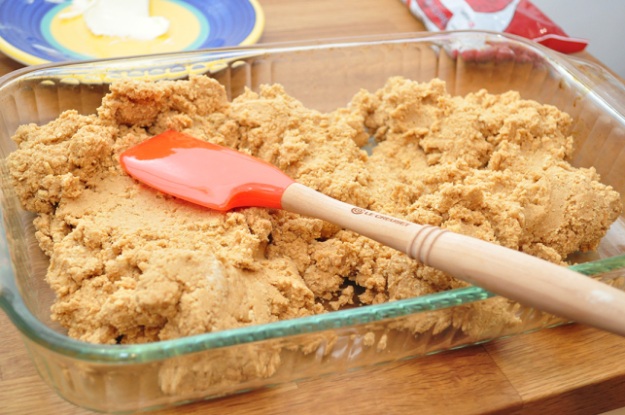
Instead, press the mixture into the bottom of a 9×13 inch pan (ungreased).

Oh–you already ate it all? Oh. Sorry. I didn’t mean to mislead anyone.

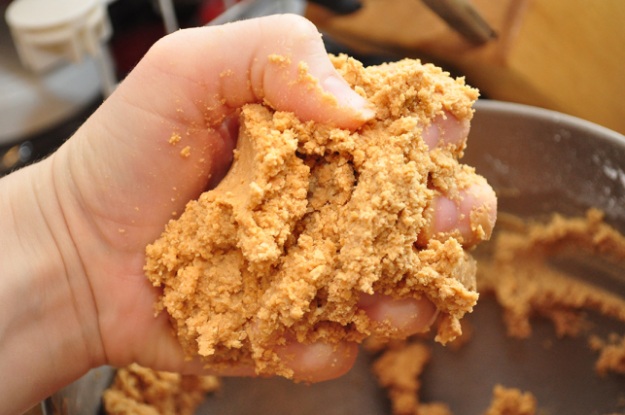
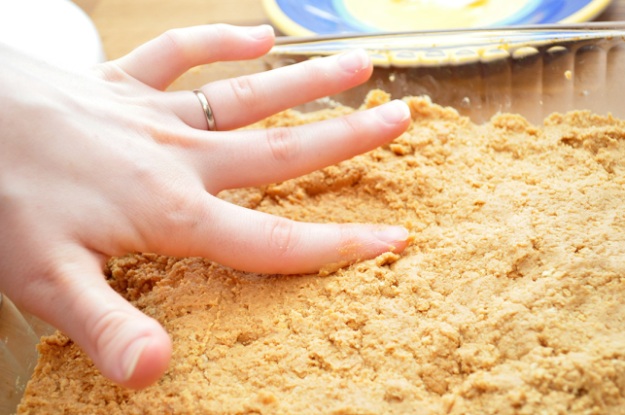
For the rest of you: the mixture will stick somewhat as you press it down. See how it doesn’t want to stay put?

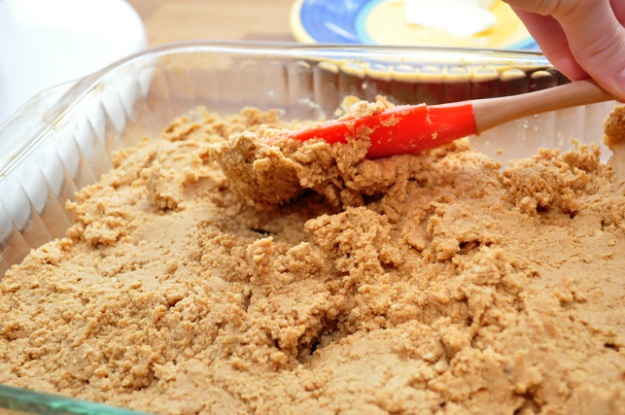
I panicked for about 15 seconds thinking it would never cooperate–but as I started using a combination of the spatula and my index finger to pat it down little by little, everything came together.

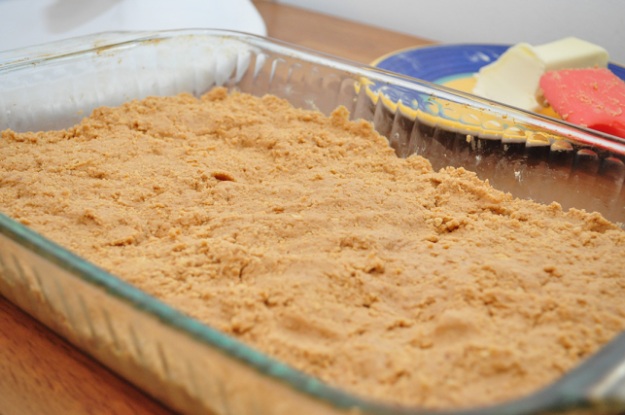
Phew! There we go.

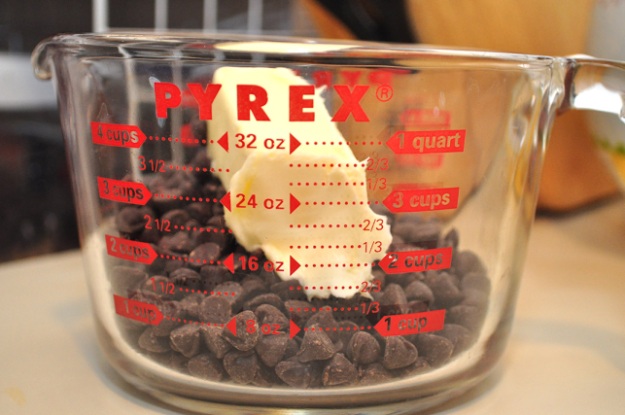
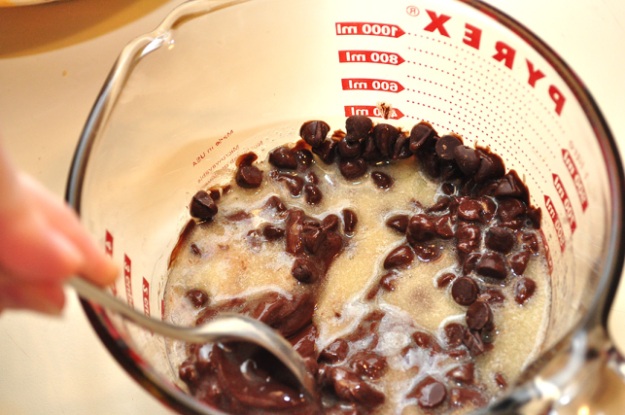
And now for the chocolate. In a microwave-safe bowl, mix the chocolate chips and 1/4 cup butter.

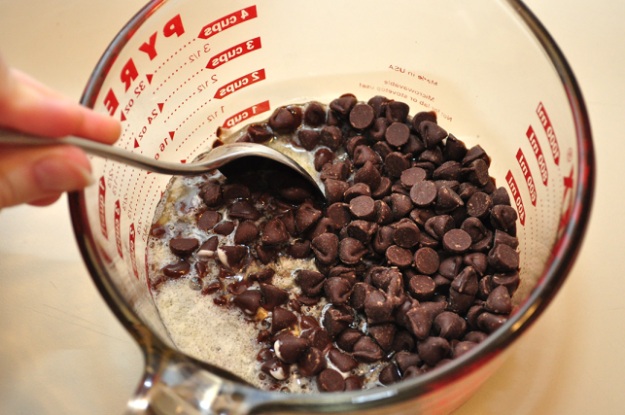
Heat for 1 minute in the microwave, then remove the bowl and stir.

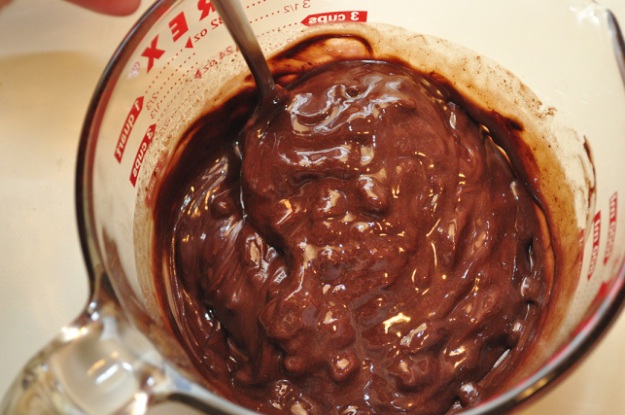
If it’s not fully melted (i.e. there are still lumps), put it back in the microwave for 20 seconds and stir again.

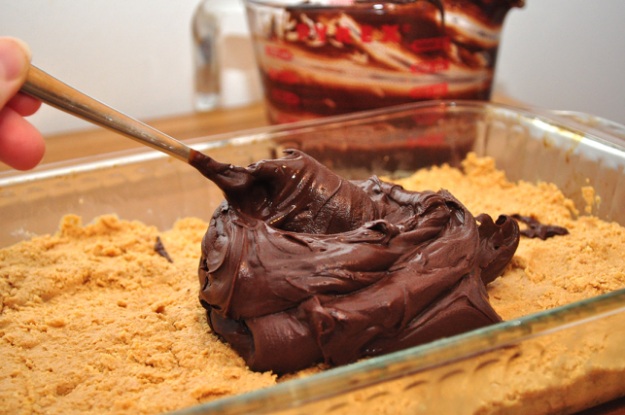
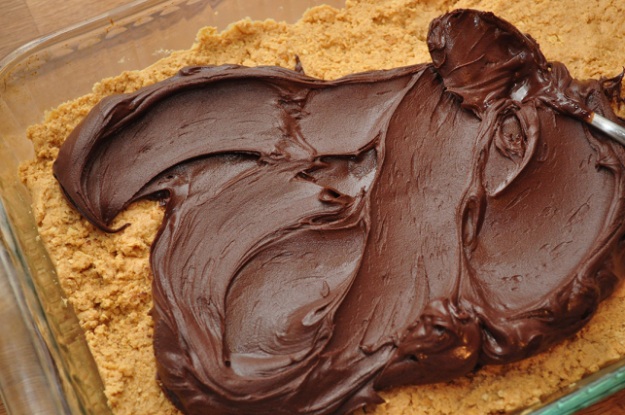
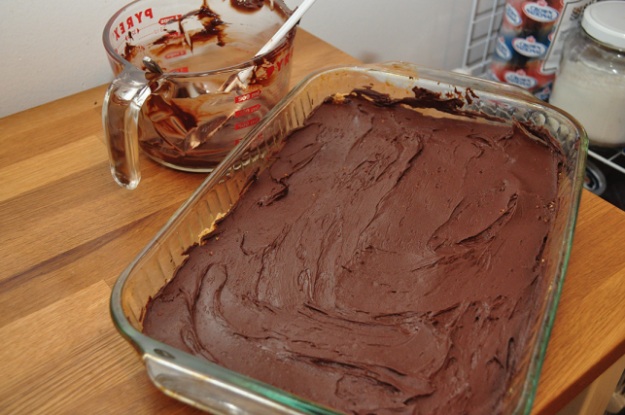
Repeat until the chocolate and butter are fully melted and melded together. Spread the chocolate immediately (and quickly) over the layer of peanut butter.

Don’t try to use a spoon like I did–a spatula will make it go much faster.

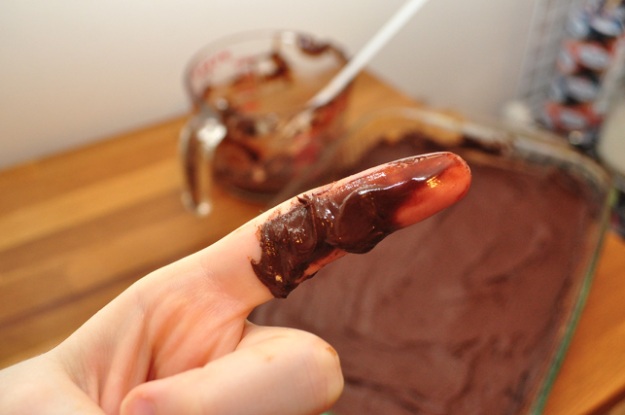
If at some point in the process your finger looks like this:

I adjure you to follow the voice in your heart. You will know what to do.

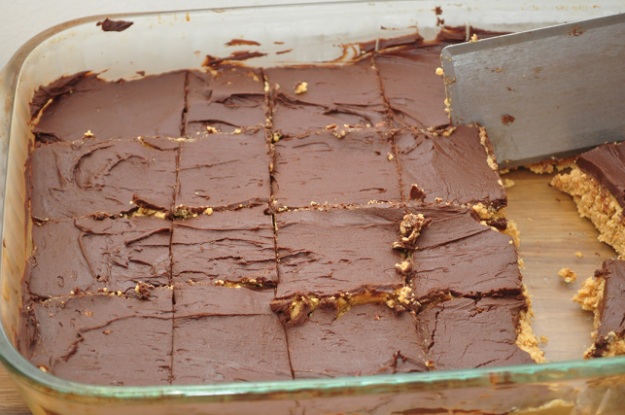
Now cool the whole thing in the fridge or the freezer until the chocolate hardens. Cut it into small squares and serve!

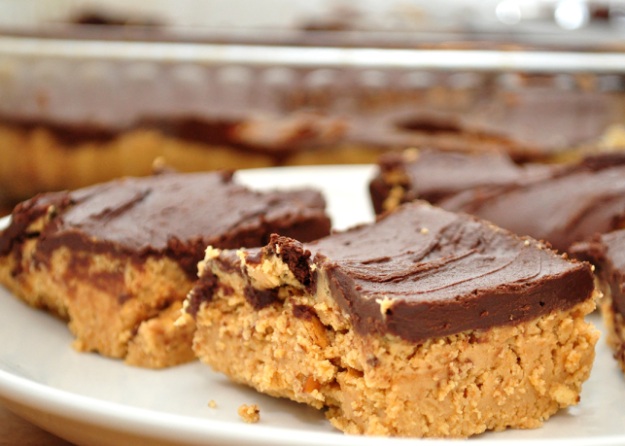
Store the bars in the freezer and serve them directly from there–the texture will be perfect (not rock-solid, don’t worry).

Delicious, easy, and the results will put a smile on your face.

Plus, you can always keep a batch in the freezer to whip out when unexpected guests drop by demanding nutrition.

Or when unexpected hunger pangs hit. Your pick.

Enjoy your weekend, peoples! I, for one, will be spending some quality time with my friend Vessie, who is in Chicago on business and is sticking around to play with me for a couple days. I love that girl! Check out some pictures of her from our little photo shoot on the porch last fall. She’s got it all–beauty, smarts, energy, athleticism–and a huge heart!

See you all Monday for more adventures in food, with a little story of unintentional carbonization as an added plus. Or an added minus, depending on your perspective.

Click here for printer-friendly version: No-Bake Peanut Butter Cup Bars