If I were a good blogger, I would be sharing an amazing recipe with you all for pumpkin pie. Or pecan pie. Or brined turkey. I mean, it’s Thanksgiving week! However, I’ve never claimed to be a ‘good blogger.’ In fact, I only recently became comfortable with even using the word ‘blogger’ in reference to myself.
It’s been rough, folks. And exciting. And weird. And wonderful. There may be no going back.
Anyway, I came across this recipe for Israeli Couscous on The Novice Chef Blog, and let me tell you–it was love at first sight. She calls it ‘Warm Couscous Salad,’ but for some reason I can’t bring myself to think of it as a salad. Thus, I renamed it, made a few modifications, served it hot, and I bring it to you today.
It is delightful. Delicious. Delectable. Devilish.
Except not devilish at all, because it’s very healthy–Wikipedia tells me that couscous is “among the healthiest grain-based products,” beating out pasta hands down.
Devilish? Healthy? I love making a statement and immediately contradicting it. It keeps everyone on their toes.
I love this as a side dish, and served it with salmon. I also love this as a main dish, topped with a couple hard boiled eggs or some fried tofu. And if you’re of the meat-needing persuasion (Dave, I’m talking to you), toss in some cubed leftover Thanksgiving turkey or ham. Hah! I totally just redeemed myself by working in the holiday at hand.
Whether main dish or side dish, I would pretty much love this concoction under any circumstance, whatever its name, and however ugly its past was. I’m an all embracing person, and I embrace this couscous dish.
Ingredients
(Serves 6)
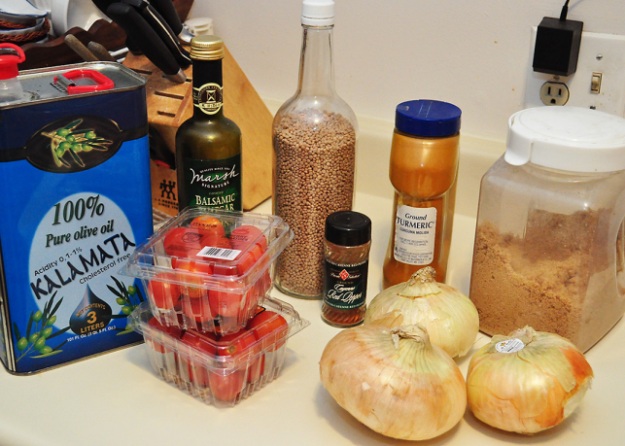
2 cups Israeli couscous
2 TBS olive oil
3 large sweet onions
1/2 tsp salt
1 TBS brown sugar
1 TBS balsamic vinegar
1 tsp turmeric
1/4 tsp cayenne pepper
salt and pepper to taste
2 pints cherry tomatoes, halved or quartered
cilantro, to garnish
 Heat the olive oil in a large pot over medium high, and when hot, add the onions and 1/2 tsp of salt.
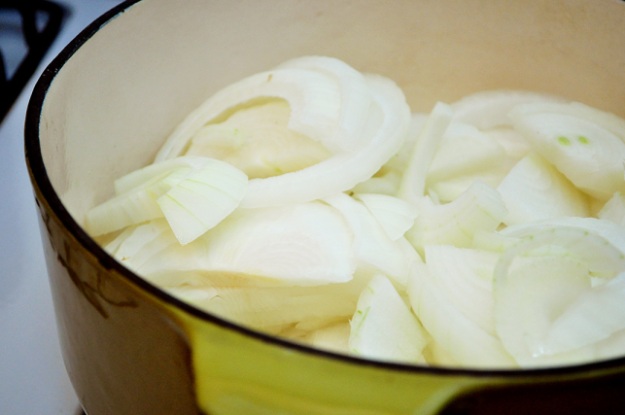 Cook for about 15 minutes, or until the onions are starting to get translucent.
In the meantime, get some salted water boiling in preparation for the couscous.
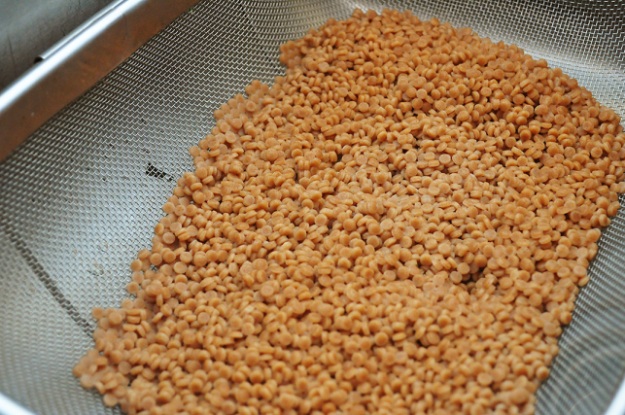
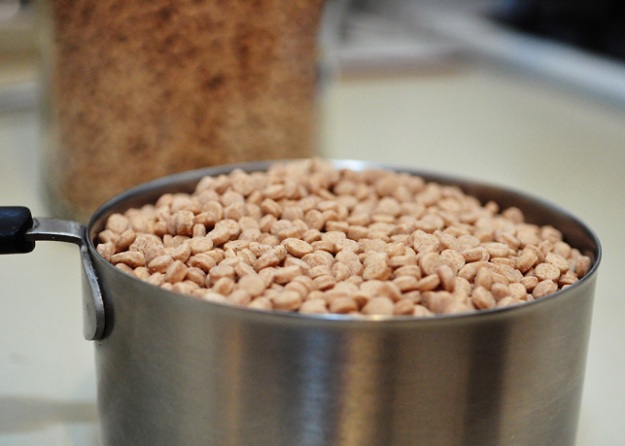 Once it boils, add the couscous and cook for about 7 minutes.
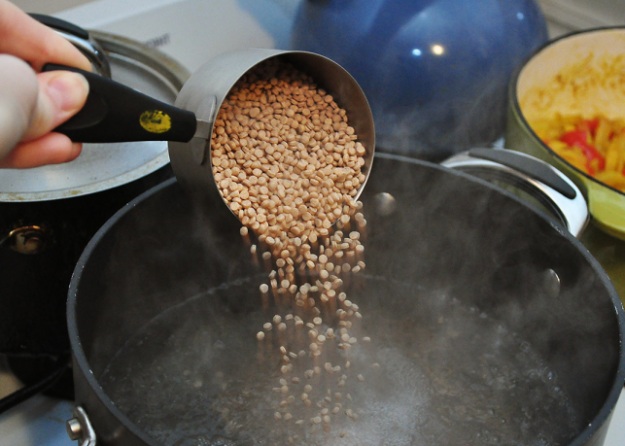 You want the couscous to feel like al dente pasta in your mouth–as soon as that happens, drain it and rinse with some cool water.
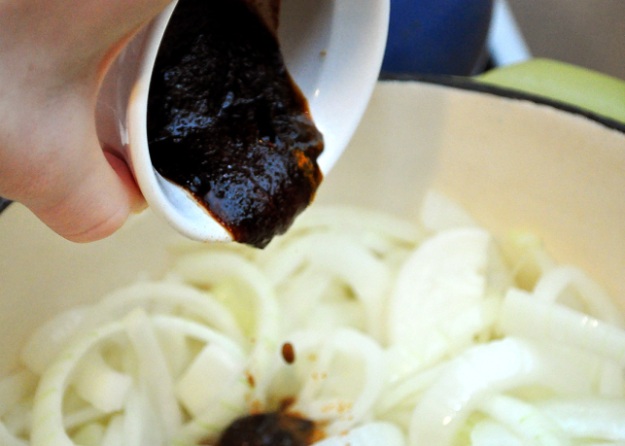
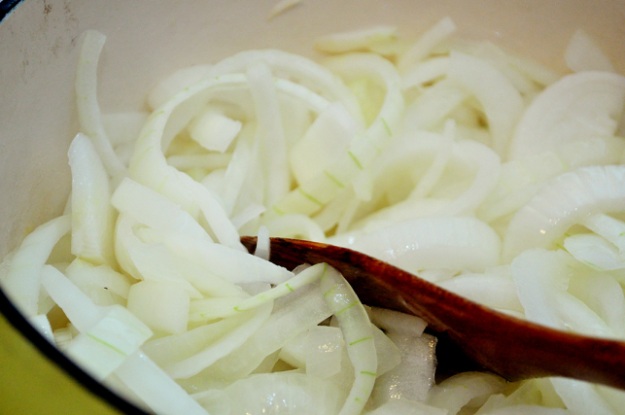 Once the onions are translucent, add the brown sugar, balsamic vinegar, turmeric, cayenne pepper, and a few more pinches of salt. I apologize for the disturbing picture. If you scroll down quickly you won’t have to look at it long.
Thankfully, no one ever said that pretty = delicious. This butt ugly sauce will soon make your taste buds sing a small anthem, and you’ll forget all about its brown gloopiness.
Stir it around and continue to cook on low heat for another 10 minutes.
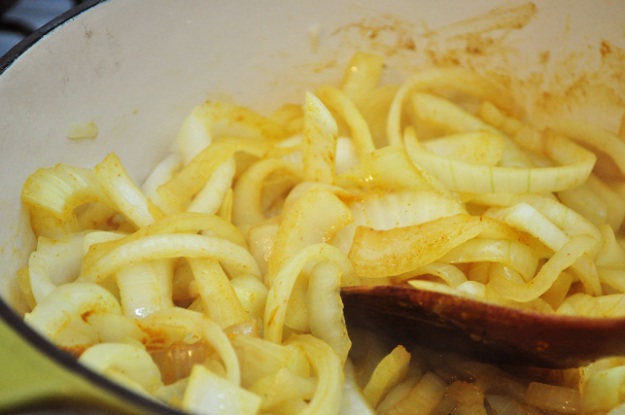 See? No more brown ugly sauce. It’s magically transformed itself, and is now golden and gorgeous.
Don’t forget to add generous amounts of black pepper!
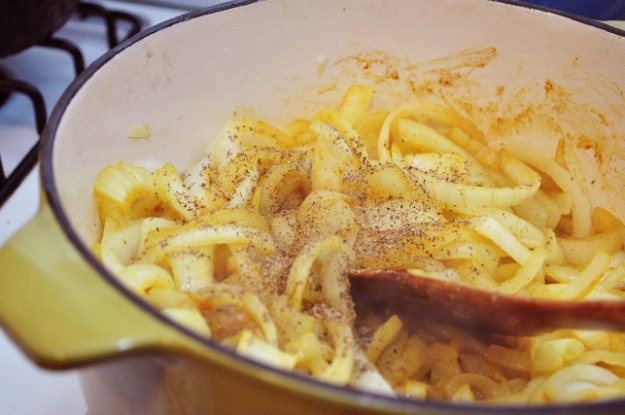 While the onions are making your house smell like a spiced paradise, quarter or halve the cherry tomatoes.
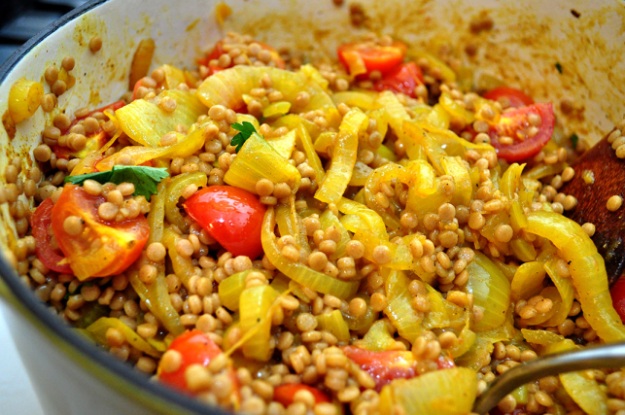
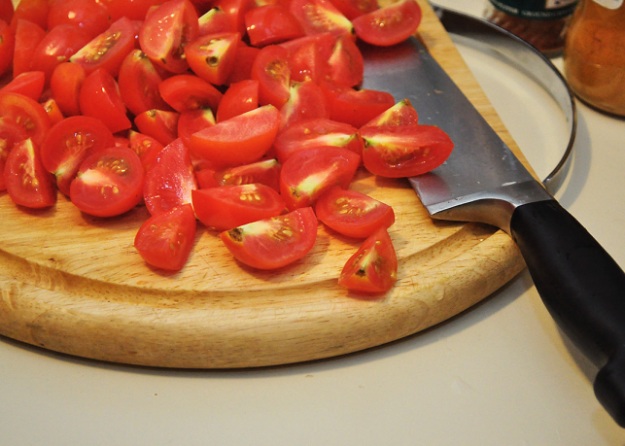 After the onions have cooked for those 10 minutes, add the cherry tomatoes and cook for 5 more minutes or until the tomatoes are heated through, but still retaining their shape.
Then ask your Nikon D5000, “why do you freak out when intense reds are in the picture? Do you really have to wig out like you do? Can’t you just balance the dang colors for me? I don’t have time for this!” Then the Nikon reminds you of all the amazing pictures not involving reds it has allowed you to take, and you make up with tears, hugs, and promises to never fight again.
I love my camera, and I can’t let our relationship stay on the rocks for more than two minutes at a time.
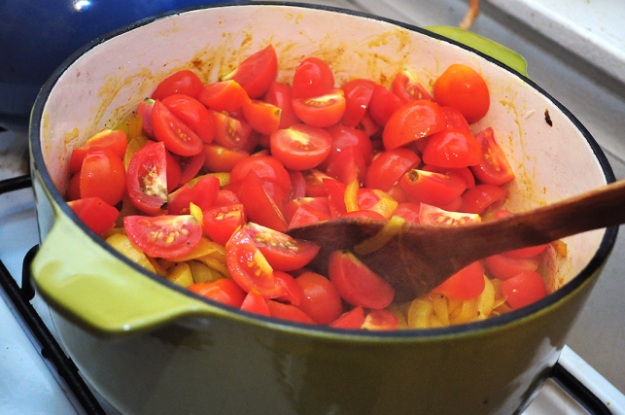 Adjust the seasoning to your taste.
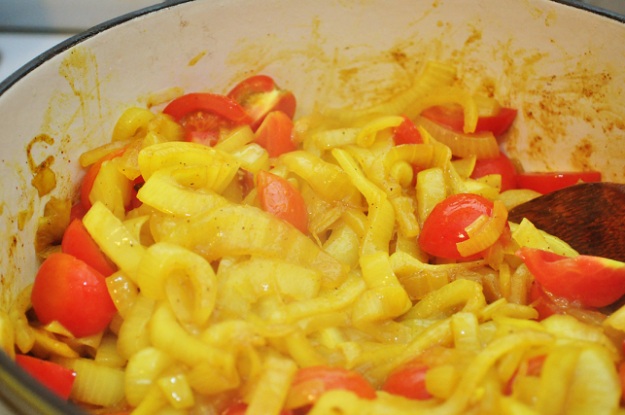 It may seem like a lot of onions for not a lot of couscous–but don’t worry. When it comes together and you take that first bite, it will all make sense.
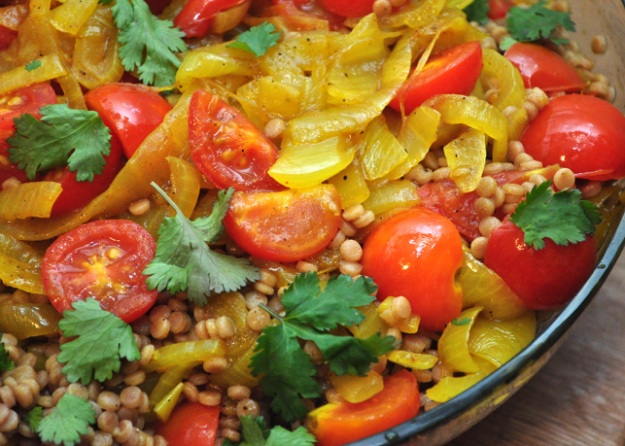
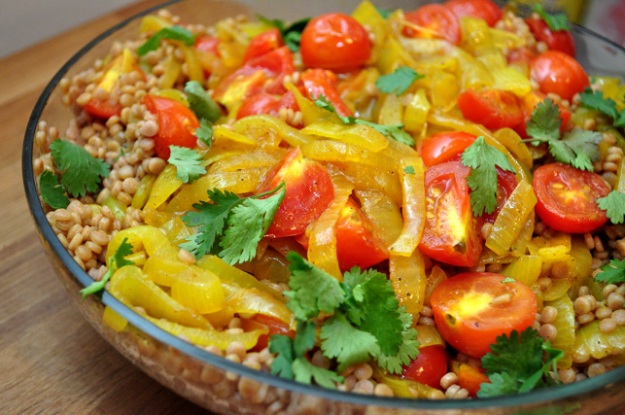
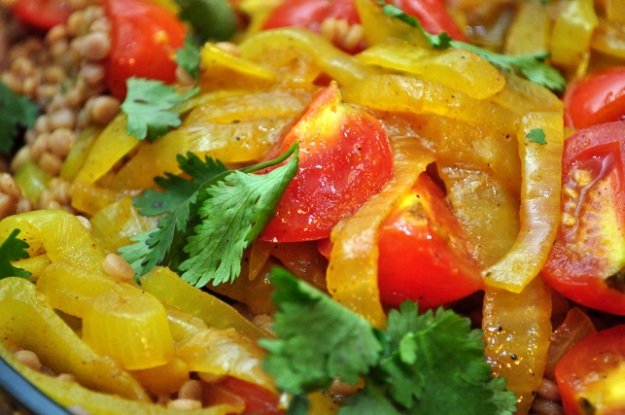
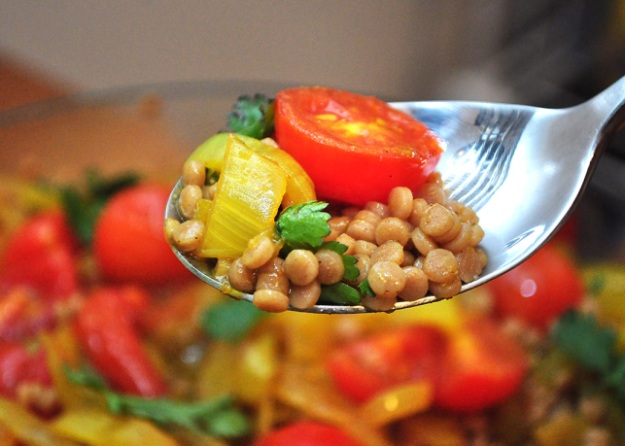
Combine the couscous with the onion/tomato mixture, and top it all with some cilantro.
I resurrected this clear bowl that I had originally bought to float some candles in.
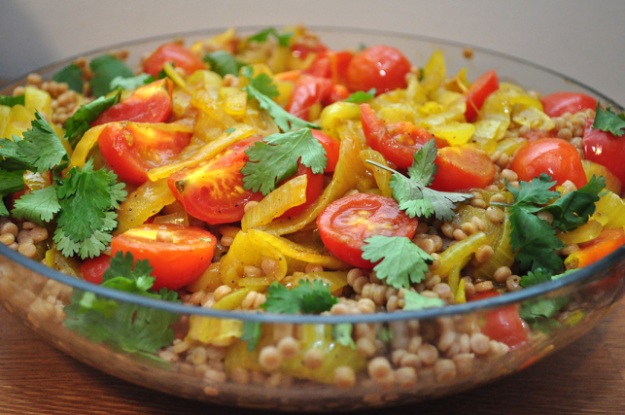 Then I didn’t touch it for 4 years, and it languished beneath my popcorn bowl, ignored and weepy.
I think this bowl has now found its purpose in life.
 Click here for printer-friendly version: Israeli Couscous with Spiced Sweet Onions
