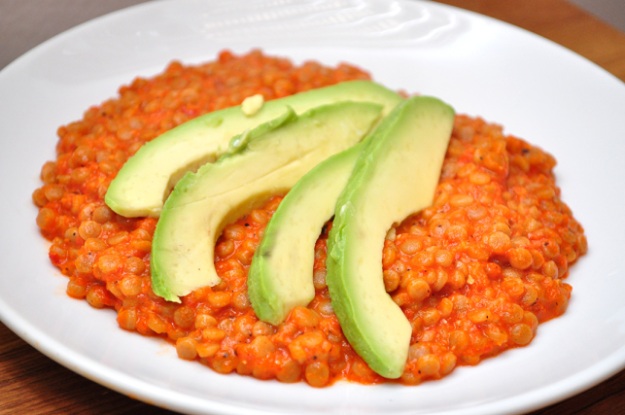
I am so pleased with this simple little recipe, a variation on this original (once again identified in my TastyKitchen perusings). It’s full of flavor. It’s simple and quick. I know I’ll be coming back to it for weeknight meals.
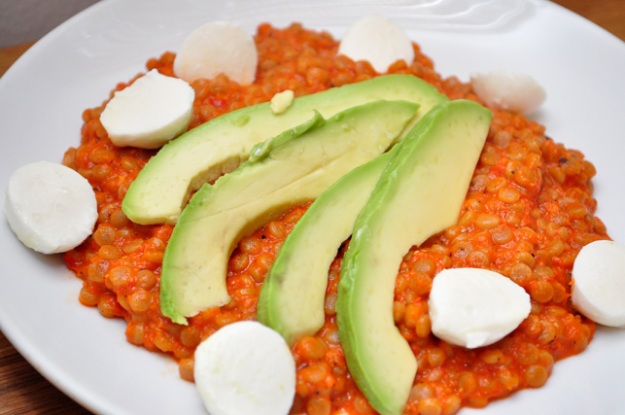
A few things: the avocado and mozzarella are not just garnishes; they are 100% necessary to the dish. Since I used jarred roasted red peppers (my grocery store was out of fresh ones–I wonder if Mardi Gras had something to do with that), the acidity level of the couscous with the sauce would have been too high for me to enjoy it by itself. However, once the avocado and mozzarella were stirred in, everything became balanced and beautiful, and I sighed with pleasure. I used a pinch of sugar to counteract the acidity, but if you roast your own peppers you can probably get by without.
This could work as a fun side dish to fish or chicken, or you can top it off with an egg or two and call it a meal! That’s what we did, and what we will be doing again.
Ingredients
(Serves 2)
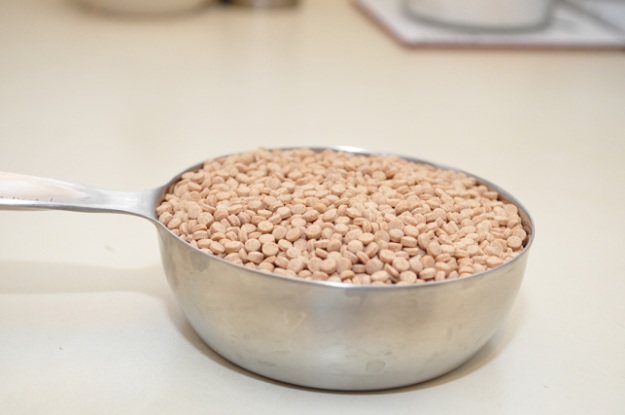
1 cup dry Israeli couscous
3 roasted red peppers
2 cloves garlic
1 TBS sherry or white wine vinegar
1 tsp salt
1 tsp black pepper
2 TBS olive oil
1 pinch sugar, optional (especially if using jarred peppers)
1 whole avocado
1 sprinkling lemon juice
1 cup torn fresh mozzarella or bocconcini
4 fried or hard boiled eggs (optional, to make this into a full meal)
If you’ve never made Israeli couscous, you’re in for a treat. They grains are much larger than ‘regular’ couscous, and have a delightful chew to them when cooked al dente.
I think what I used may be whole wheat, but I bought it so long ago that I can’t remember.
Anyway, Israeli couscous cooks just like pasta, so let’s start off by boiling some water.
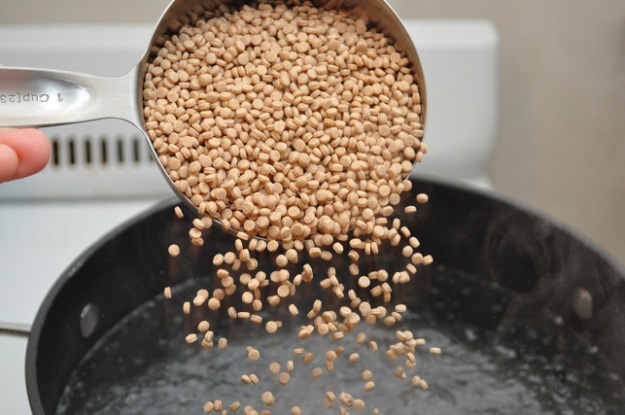
When it comes to a boil, add the couscous and cook it for about 7 minutes, until it’s al dente.
All of a sudden I’m looking at that picture and thinking “rabbit food pellets.” Ew. Try not to think that–banish it from your mind! This is not pet food. This is not pet food. Or pet, um droppings.
When it’s done, drain the couscous and pour it back into the pot.
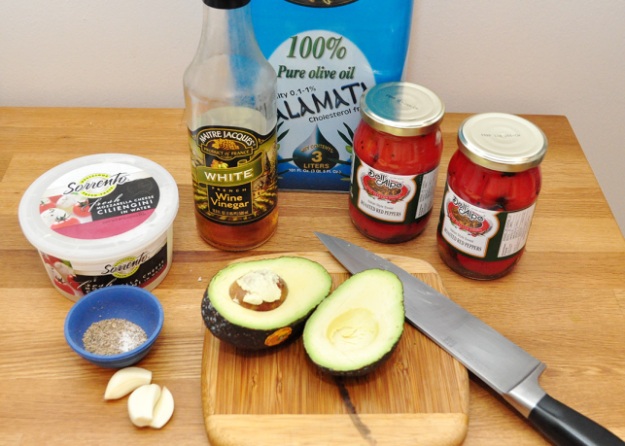
In the meantime, grab ye the remaining ingredients.
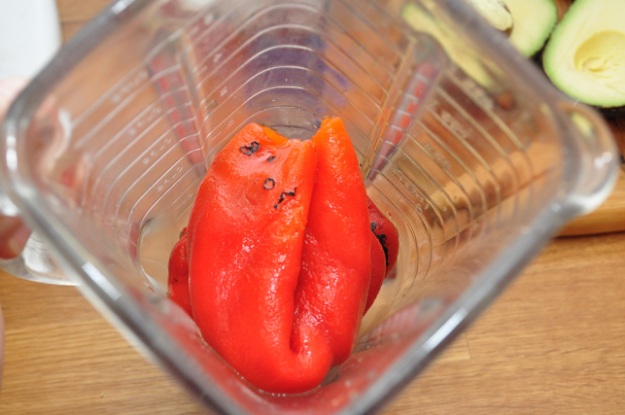
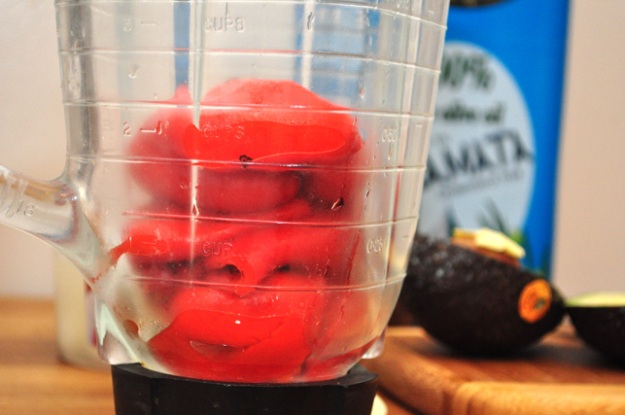
Toss the roasted red peppers in a blender.
Examine it from a few different angles, just for the heck of it.
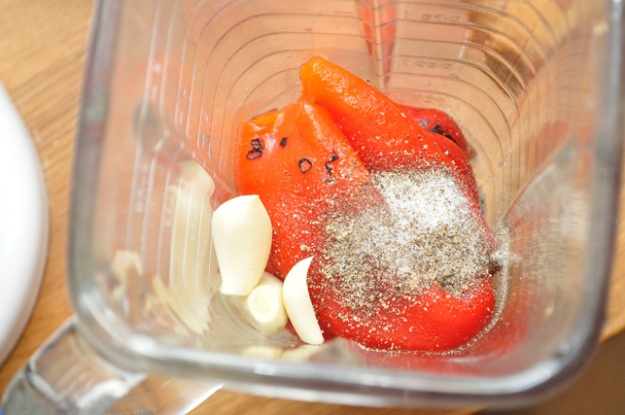
Toss in the peeled garlic cloves, salt and pepper . . .
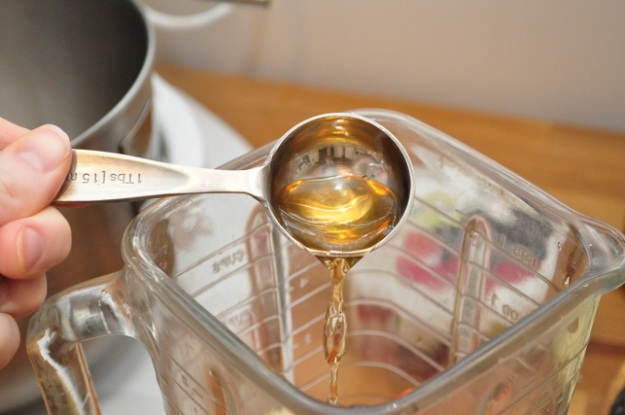
. . . and the vinegar and olive oil too.
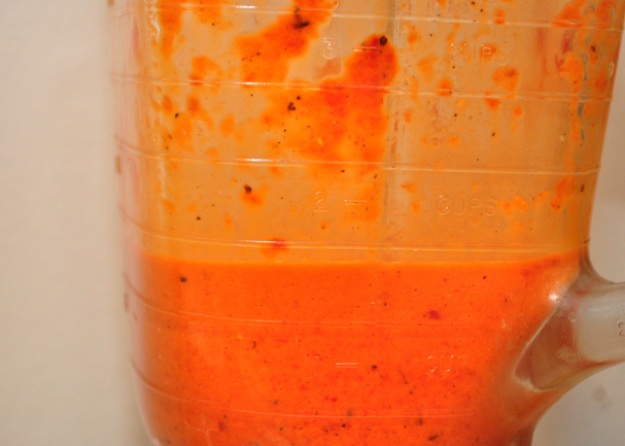
Press blend. It just needs about a minute in there, and you can stop as soon as it’s starting to get smooth. I think that leaving a little texture is quite desirable.
Also, please use a top on your blender. Don’t be like me and have a nearly explosive disaster only averted by the quick placement of the palm of your hand.
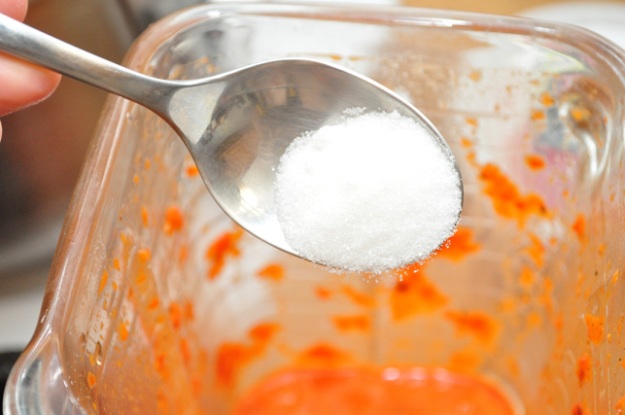
Very important step: taste the sauce and if there’s too much acidity, adjust with a pinch of sugar. The acidity will be greater if you use jarred red peppers; roasting your own will probably make the addition of sugar unnecessary. And am I ever glad that further testing is required! I love further testing.
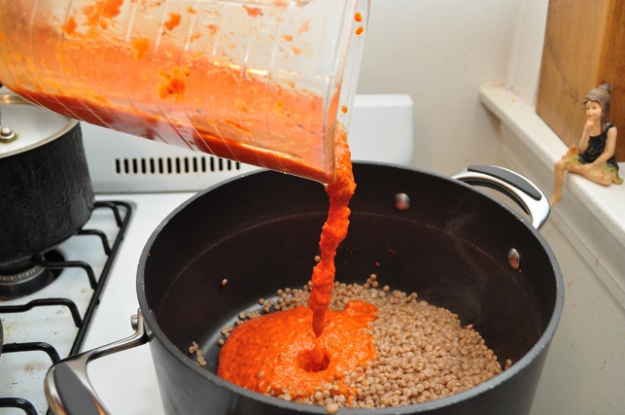
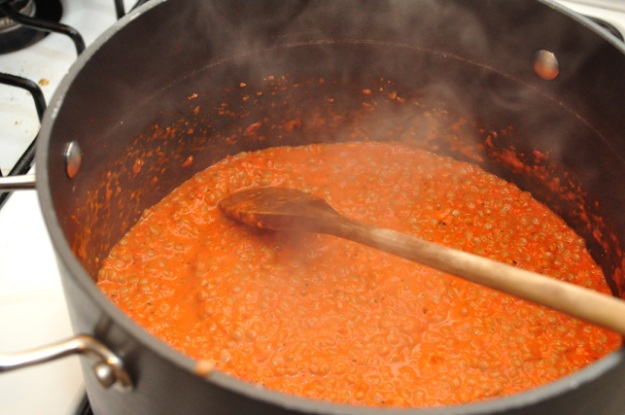
With the heat on medium, add the sauce to the couscous and cook for about 5 minutes.
I love that fiery sunset orange color.
It will start off looking a little soupy, so cook it until the couscous passes the ‘drag’ test (when you drag a spatula across the bottom of the pot, the area doesn’t immediately fill with liquid).
Taste again and adjust the seasoning.
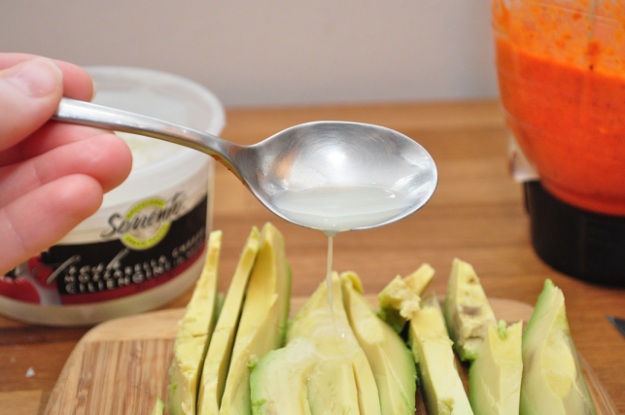
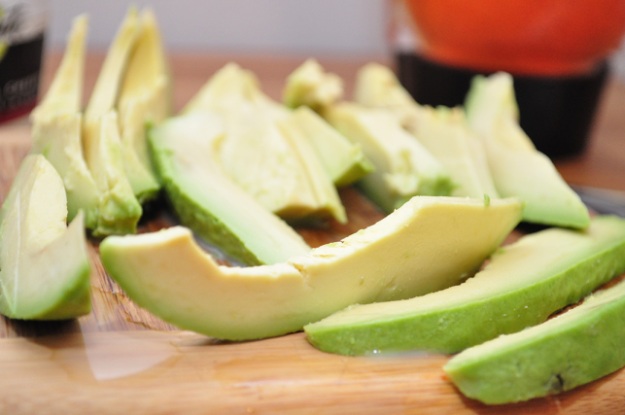
Cut the avocado into slivers, and sprinkle them with lemon juice to prevent browning.
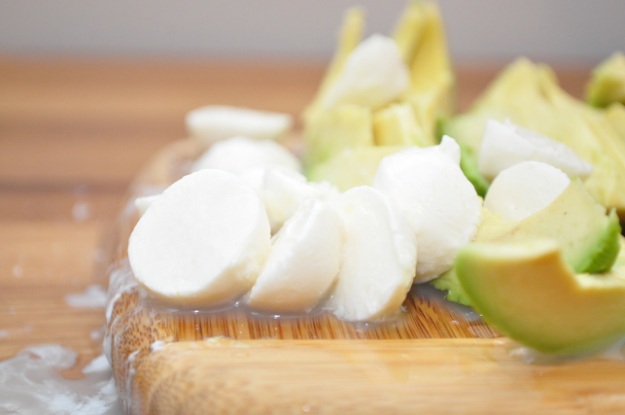
Tear up some fresh mozzarella pieces, or simply use halved bocconcini. Lightly salt both the avocado and the cheese.
Some day I need to sing a canticle in honor of avocado. Words just can’t express my love.
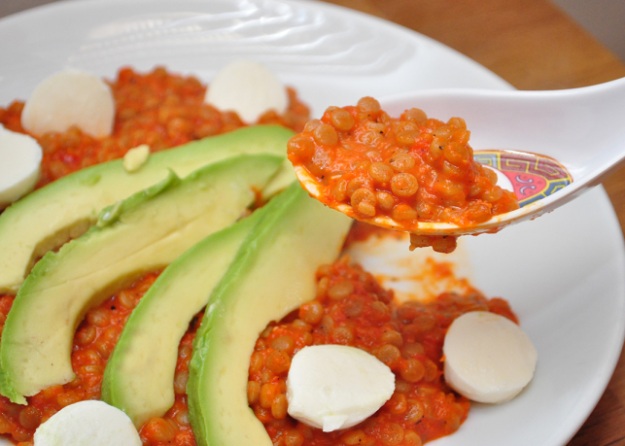
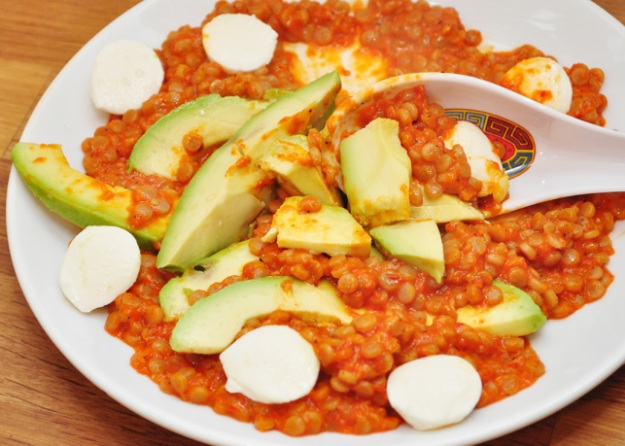
Stir the avocado and mozzarella into the couscous, and serve!
I can’t emphasize enough how necessary the avocado and mozzarella are to this dish. Please believe me. They turn it from ‘meh’ into ‘mwahhahahaaa!!!’
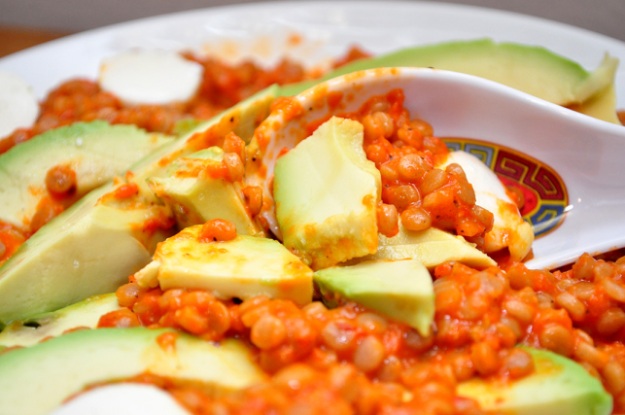
You can make a pretty arrangement with it, but unless there’s a camera involved, it’s probably not worth it. Here’s how it really looks once you start chowing down:
Divine!
If you want to make it into a full meal, top it off with 4 hardboiled or fried eggs (2 per person). That is the absolute best way to eat it.
Click here for printer-friendly version: Roasted Red Pepper Couscous with Avocado and Mozzarella
