 For years I pretty much only ordered curry from Thai restaurants–green curry, red curry, yellow curry, Panang curry–I loved (and love) them all. Then something happened. In May of this year, our Bible study leaders David and Beth ordered a smorgasbord of Thai food for our group. As I sampled all the new flavors and my taste buds sang a song of celebration, I realized that I had been shortsighted in my years of curry exclusivity. I’d been missing out on fantastic dishes such as Pad Kra Pao, Pad Woon Sen, and the awesomest of awesomes: Pad See Ew.
Pad See Ew has become one of our staple orders from what is hands down our favorite Thai restaurant in Chicago, Siam Noodle and Rice. At $6.50 for a dinner-sized portion, it’s a great deal and it has a fabulous flavor.
 Pad See Ew is very simple: Chinese broccoli, wide noodles, pork, and egg are its main ingredients. I’ve been hankering to reproduce this dish at home for quite a while now. I even briefly considered accosting the owners of the restaurant and demanding a no-pay internship in their kitchen so that I could learn the secret of this dish. Though I have yet to take that bold step, my recent trip to Golden Pacific Market enabled me to make it at home. It’s not 100% like what we get at the restaurant, but it’s in the ballpark, which I am very happy with for now. Further experimentation will ensue, but I couldn’t withhold this from you until that future and possibly unattainable point of perfection . . . so here is an excellent version you can toss together in 20 minutes at home. Simple ingredients, minimal prep time, and quick cook time make this a great and interesting weeknight meal. An added plus–for you vegetarians out there, I have also made this substituting the pork chop with 2 extra eggs, and it’s equally fantastic. Let’s have at it!
Ingredients
(Serves 2)
2 TBS peanut oil
3 cloves garlic, minced
1 pork chop, thinly sliced
2 eggs, beaten
1 1/2 TBS sugar
2 TBS light soy sauce
2 TBS dark soy sauce
1 tsp fish sauce (optional)
1 lb fresh flat rice noodles
1 lb Chinese broccoli (can substitute kale or regular broccoli)
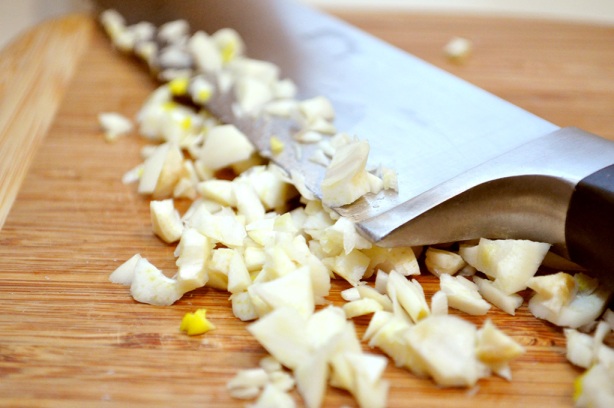
The dish comes together very quickly, so first prep all your ingredients: mince the garlic, thinly slice the pork, beat the 2 eggs together, and mix the two soy sauces, sugar, and fish sauce in a small bowl or cup.
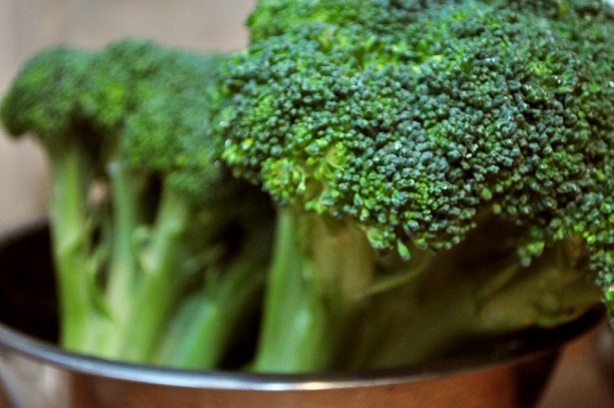
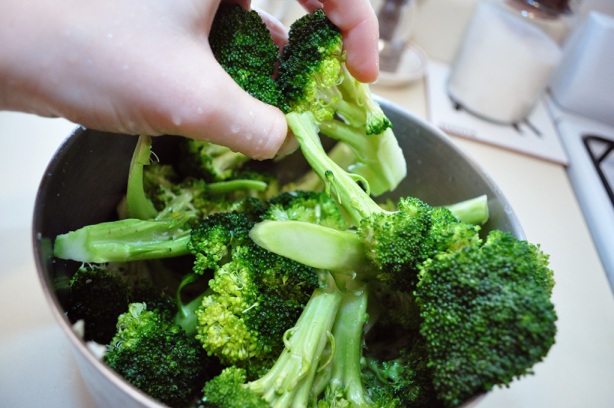
 Wash the Chinese broccoli–you can substitute kale (so I’ve been told) or regular broccoli, but this stuff is amazing and you should get your mitts on it if at all possible.
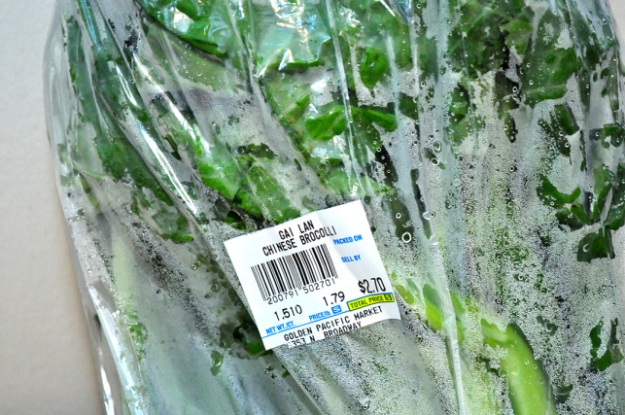
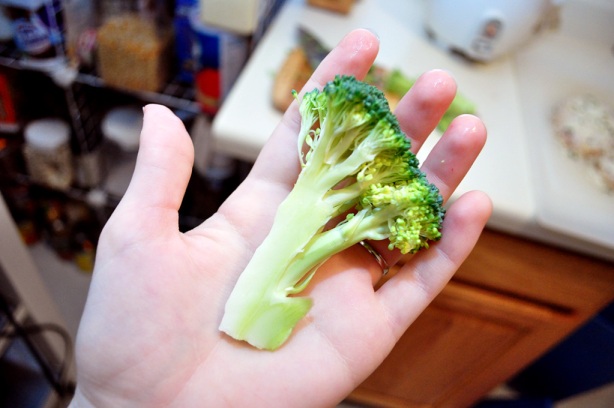
 Now chop the broccoli in 2-inch slices.
 You can use the broccoli stems if you split them lengthwise down the middle and then give them a rough dice, or you can just use the leaves.
Take the large flat noodle (which in my case, came in one big sheet) . . .
 . . . and slice it into rectangles about the length and width of two fingers put together.
 Make sure to peel the noodles apart so that they’re not stuck together. This is much easier to do if the noodles are room temperature, so if you can remember (I never do), take the noodle sheet out of the refrigerator an hour or so before you start making this.
Let’s get cooking! Heat the oil in a wok or large, deep skillet over medium-high heat. When very hot, add the garlic and fry for 30 seconds, stirring constantly.
 Add the pork slivers and fry for another 1-2 minutes.
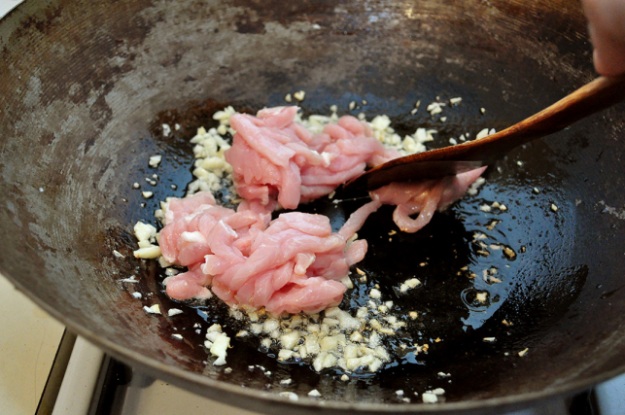 Very quickly, the pork will start to cook through:
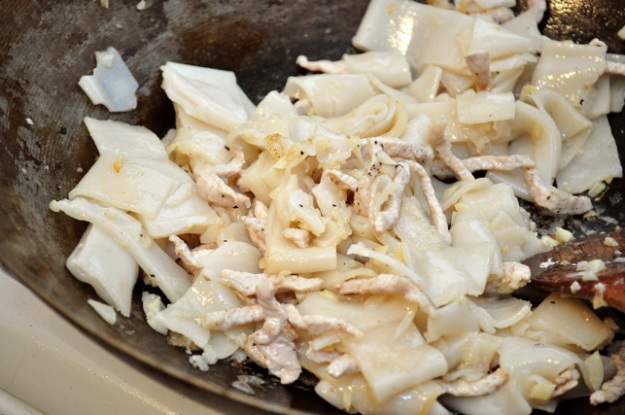
 While it’s still pink in places, add the noodles and stir to incorporate for another minute.
 You’ll notice in the picture above that I hadn’t separated the noodles, thinking they would naturally come apart once they were heated. I was wrong, and this caused problems for me, but that’s why I’m here. To be your guinea pig. To help you avoid the pitfalls. So read my lips: all your noodles should be separated before you add them in!
 Stirfry for 2 minutes until well incorporated. Quick note–I’ve made the sauce both with and without the addition of fish sauce, and it’s really good both ways. Fish sauce is awesome and very important in Thai cooking, but its effects in this particular dish are very subtle and you may only notice its presence/absence if you’re really thinking about it.
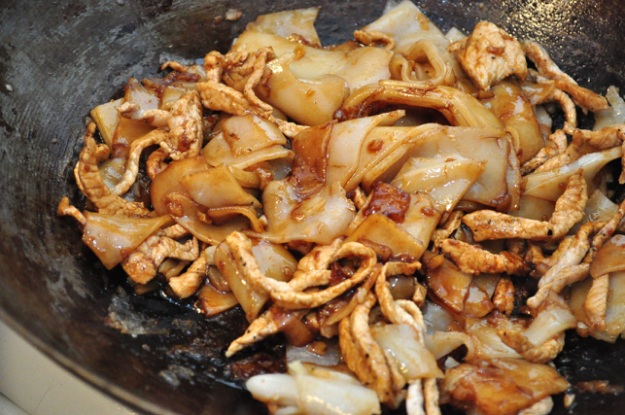 Make a well in the middle of the pan or wok, and add the eggs.

 Let them set into a half-cooked “omelette” before breaking them apart and stirring them into the dish.
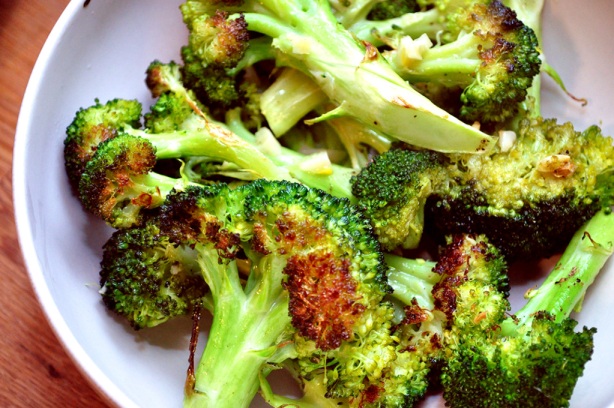
 Finally, add the broccoli stems (if you’re using them) and stirfry for a couple minutes before adding the leaves and stirring them in until wilted.
Give ‘er the old taste test, and if you like the dish sweeter or saltier or saucier, simply add a little more sugar and/or soy sauce.
Isn’t it beautiful? I love the bright green broccoli leaves.
Who would have though that such a simple sauce could create such a wonderful flavor?
*Note: Many recipes I found online include oyster sauce. I asked the owner of a Thai restaurant in town I frequent (Azha) about this, and he told me that their chef doesn’t use it. However, he does use a Thai sweet soy sauce, which I’ll be searching for on my next trip to Golden Pacific Market. The experimentation is not over, and if I find a better version you can be sure I will share it with you all!
Click here for printer-friendly version: Pad See Ew
